
Table of Contents
Introduction about Vampire Bite Trail Mix
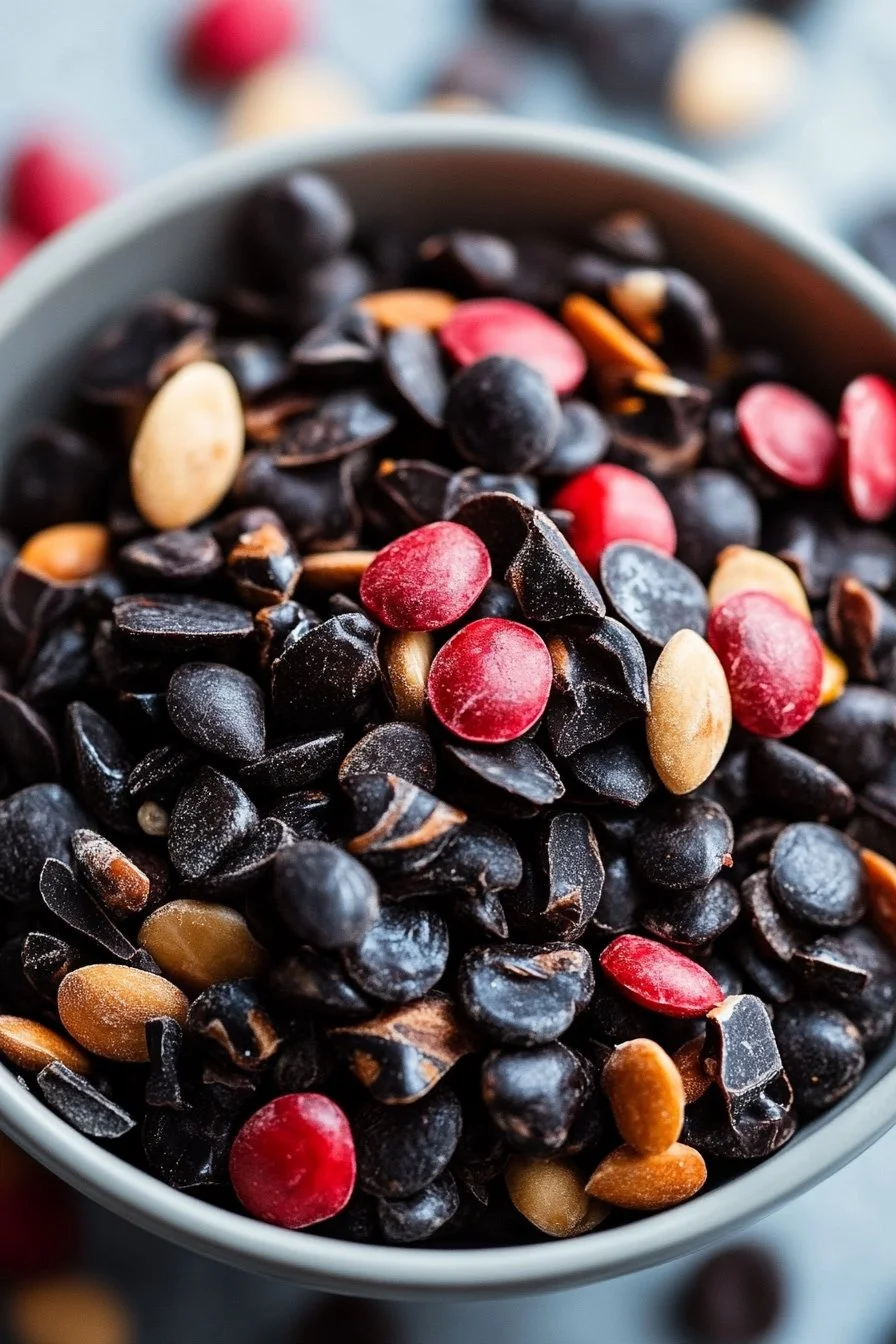
Are you looking for a fun and delicious snack that’s perfect for Halloween—or any time of the year? Let me introduce you to the enchanting Vampire Bite Trail Mix! This delightful snack is not just about taste; it’s a spooky treat that everyone in the family will love. Imagine crunchy chocolate-covered pretzels mingling with sweet mini marshmallows, colorful candy corn, and vibrant red candy-coated chocolates. How could anything that looks this good not taste amazing?
Picture this: you’re getting ready for a movie night, a Halloween party, or just want a pick-me-up during the day. You could go for boring, pre-packaged snacks, but why not impress your friends and family with something homemade and festive? The Vampire Bite Trail Mix is quick to whip up, requires little prep work, and is easily customizable to suit your tastes. Plus, with its striking colors and fun textures, it’s sure to be a conversation starter! Are you ready to dive into making this bewitching snack?
Key Benefits of Vampire Bite Trail Mix
Why You’ll Love This Recipe
- Deliciously Sweet and Salty: Each handful offers a wonderful blend of flavors that satisfies both cravings.
- Easy to Prepare: Just toss the ingredients together, and you’re ready to munch!
- Perfect for Any Occasion: Whether it’s a festive gathering or a quick snack, it fits right in.
- Family-Friendly: Kids and adults alike will enjoy picking through this colorful mix.
- Customizable: Make it your own by adding or swapping ingredients according to taste or dietary needs.
- Visual Appeal: It’s not only delicious but also looks amazing in a bowl or jar, making it a great center piece.
What Makes It Stand Out
The Vampire Bite Trail Mix isn’t just another snack; it brings creativity and fun to your munching experience. With its bold colors and festive vibe, it’s perfect for Halloween parties or anytime you want a whimsical touch. You can also easily adapt the recipe to fit seasonal celebrations, making it a year-round delight.
Another remarkable aspect of this trail mix is its versatility. You can swap out ingredients based on dietary restrictions or simple preferences. Whether you’re avoiding gluten or just want to sneak in some more nuts, the choices are endless!
Ingredients for Vampire Bite Trail Mix
Complete Ingredient List with Measurements
To prepare your Vampire Bite Trail Mix, gather the following ingredients:
- 1 cup chocolate-covered pretzels
- 1 cup mini marshmallows
- 1 cup candy corn
- 1 cup red candy-coated chocolates
- 1 cup mixed nuts (your choice)
- 1 cup dried cranberries
Substitutes and Alternatives
Not all the ingredients will fit everyone’s preferences or dietary needs. Here are some common substitutes:
- Chocolate-covered Pretzels: Swap with regular pretzels or yogurt-covered ones for a different flavor.
- Mini Marshmallows: Use vegan marshmallows if you want a dairy-free option.
- Candy Corn: Try gummy worms or Halloween-themed gummies for a fun twist.
- Red Candy-coated Chocolates: Use M&M’s or Skittles in different colors.
- Mixed Nuts: Go nut-free by selecting seeds, such as pumpkin or sunflower seeds.
- Dried Cranberries: Substitute with raisins, dried cherries, or other dried fruits.
How to Make Vampire Bite Trail Mix – Step-by-Step Directions
Creating your very own Vampire Bite Trail Mix is a breeze. Follow these simple steps to whip up this hauntingly delicious snack!
Step 1 – Prep Your Workspace and Ingredients
Before you start mixing, take a moment to gather all your ingredients and clear your workspace. It’s always easier to work in a tidy space!
- Get out a large mixing bowl.
- Measure out all the ingredients.
- Have a spoon or spatula handy for mixing.
Step 2 – Combine Dry Ingredients
In a large bowl, add the following ingredients:
- Chocolate-covered pretzels
- Mini marshmallows
- Candy corn
- Red candy-coated chocolates
- Mixed nuts
- Dried cranberries
Take a moment to admire the colorful array of goodies in your bowl!
Step 3 – Toss Gently
With a spatula or your hands, gently mix everything together. The goal is to distribute the ingredients evenly without crushing the pretzels or marshmallows.
Step 4 – Taste and Adjust
Here’s where you can get creative! Take a small handful and give it a taste. Do you want more sweetness? Add more candy corn or marshmallows. Prefer a crunch? Toss in more nuts!
Step 5 – Presentation is Key
For a festive touch, consider transferring your trail mix into clear containers or bags. This not only looks great but makes it handy for parties or sharing.
Step 6 – Serve Your Snack
Once you’re satisfied with your mix, it’s time to serve! You can place it in a bowl for guests or keep it in jars for easy snacking.
Step 7 – Store for Later
If you have any leftovers, simply store your vampire bite trail mix in an airtight container. It can last for about a week or longer if stored correctly.
Step 8 – Enjoy!
Gather your friends and family and dive into this delightful treat! Share your feelings about the mix or how you customized it.
Step 9 – Clean Up
Don’t forget about clean-up! A clean workspace not only helps with the next cooking adventure but keeps the kitchen fresh.
Step 10 – Get Feedback
Next time you whip up a batch, ask your family for feedback. You might find new favorite additions for your Vampire Bite Trail Mix!
Serving Suggestions for Vampire Bite Trail Mix
Best Occasions to Serve This Dish
The Vampire Bite Trail Mix is wonderfully versatile when it comes to occasions. Consider serving it at:
- Halloween parties
- Movie nights
- Family gatherings
- School events
- Picnics or outdoor adventures
What to Serve with It
Pair your trail mix with some refreshing drinks or treats for an enhanced experience. Here are some ideas:
Beverages:
- Hot chocolate
- Apple cider
- Fruit juices
Sweets:
- Mini cupcakes
- Brownies
Savory Options:
- Cheese platter
- Veggie sticks with dip
Storing Vampire Bite Trail Mix Properly
Best Storage Practices
To keep your Vampire Bite Trail Mix fresh, follow these storage tips:
- Containers: Use airtight containers to prevent moisture and keep the crunch.
- Location: Store them in a cool, dry place like a pantry or cupboard.
- Duration: It can last for about 1-2 weeks if stored properly.
Reheating and Freezing Tips
While this mix is best served fresh, here are some tips if you want to make it ahead of time:
- Freezing: You can freeze the mix, but it’s best to eat it fresh for optimal texture and taste.
- Thawing: If frozen, allow it to come to room temperature before serving.
- Avoid Microwaving: Reheating in the microwave can make pretzels chewy.
Tips & Tricks for Vampire Bite Trail Mix
Mistakes to Avoid
- Too Much Mixing: Be gentle when combining; over-mixing can crush delicate ingredients like pretzels and marshmallows.
- Ignoring Dietary Needs: Ensure that all ingredients cater to your guests’ dietary restrictions for inclusive snacking.
Extra Tips for Better Results
- Add Spice: Sprinkle in a little cinnamon or nutmeg for extra warmth during fall months.
- Chill Before Serving: Store the trail mix in the fridge for a refreshing snack.
- Personalize Your Mix: Encourage creativity by letting everyone create their personalized trail mix!
Recipe Variations of Vampire Bite Trail Mix
Creative Twists
Feel free to experiment with your Vampire Bite Trail Mix! Here are a few ideas:
- Seasonal Flavors: Add pumpkin spice for fall or peppermint for winter.
- Nutty Boost: Try different combinations of nuts like pecans or walnuts for varied texture and flavor.
- Add Chocolate: Toss in some chocolate chips or bites for an even richer experience.
Dietary Adjustments
To accommodate various diets, consider these adjustments:
- Gluten-Free: Ensure that pretzels and chocolate are certified gluten-free.
- Dairy-Free: Use dairy-free alternatives for chocolate or marshmallows.
- Vegan: Stick with non-dairy options for all ingredients to keep it plant-based.
Conclusion about Vampire Bite Trail Mix
In summary, the Vampire Bite Trail Mix is not only easy to prepare but full of flavors and textures that everyone will enjoy. The vibrant colors and sweet and salty notes make it perfect for any occasion whether it’s a festive celebration or just a cozy movie night at home. You’ll love how customizable it can be, allowing you to adjust to your taste or dietary needs.
I encourage you to gather your ingredients and try this fun mix. Don’t forget to share your experience and any interesting tweaks you made to the recipe! Good luck, and enjoy your homemade Vampire Bite Trail Mix!
FAQs about Vampire Bite Trail Mix
What if it doesn’t turn out right?
If your mix doesn’t taste as expected, don’t worry! You can always adjust ingredients. Add more sweet elements if it’s too salty or vice-versa.
Can I prepare it ahead of time?
Absolutely! Make your Vampire Bite Trail Mix in advance and store it in an airtight container to maintain freshness.
What are the best ingredient substitutions?
Common substitutes include using yogurt-covered pretzels instead of chocolate ones, or raisins in place of dried cranberries, depending on your preferences.
How long can it be stored?
When stored properly, your trail mix can last about 1-2 weeks, maintaining its freshness and crunchiness.
Can I use store-bought dough or crust?
This recipe doesn’t require dough or crust, as it’s all about mixing delightful ingredients directly!
Is this recipe kid-friendly or family-appropriate?
Definitely! Kids will love the colorful mix and be eager to help with the preparation, making it a family-friendly activity.
Can I make this recipe allergen-free?
Yes! Simply swap out any ingredients that do not meet the needs of those with allergies, such as nuts, chocolate, or candy. There are many options available in stores today!
Vampire Bite Trail Mix
Ingredients
Trail Mix Ingredients
- 1 cup chocolate-covered pretzels Or swap with regular pretzels.
- 1 cup mini marshmallows Use vegan marshmallows for a dairy-free option.
- 1 cup candy corn Try gummy worms as a fun alternative.
- 1 cup red candy-coated chocolates M&M’s or Skittles can be used instead.
- 1 cup mixed nuts Can substitute with seeds for a nut-free option.
- 1 cup dried cranberries Raisins or dried cherries can be used as substitutes.
Instructions
Preparation
- Clear your workspace and gather all your ingredients.
- Measure out all the ingredients into a large mixing bowl.
Mixing
- Add chocolate-covered pretzels, mini marshmallows, candy corn, red candy-coated chocolates, mixed nuts, and dried cranberries to the bowl.
- Gently toss the ingredients together with a spatula or your hands.
Taste and Adjust
- Take a handful of the mix to taste. Adjust sweetness by adding more candy corn or marshmallows, or add more nuts for crunch.
Presentation and Serving
- Transfer the trail mix into clear containers or bags for easy serving.
- Serve in a bowl or keep in jars for snacking.
- Store leftovers in an airtight container.
Storage
- Store in a cool, dry place and consume within 1-2 weeks for best freshness.