
This post may contain affiliate links. As an Amazon Associate, I earn from qualifying purchases at no extra cost to you.
Table of Contents
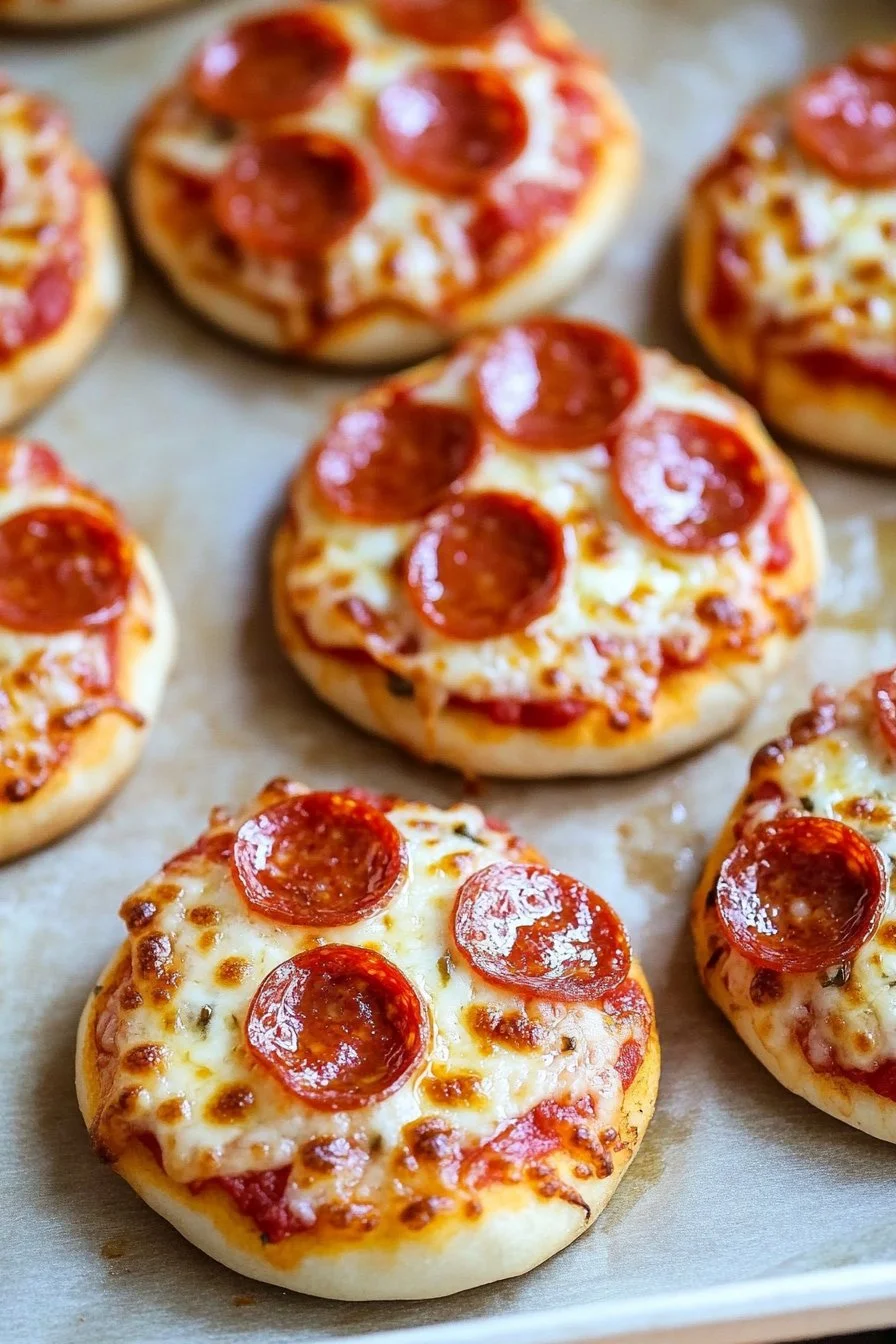
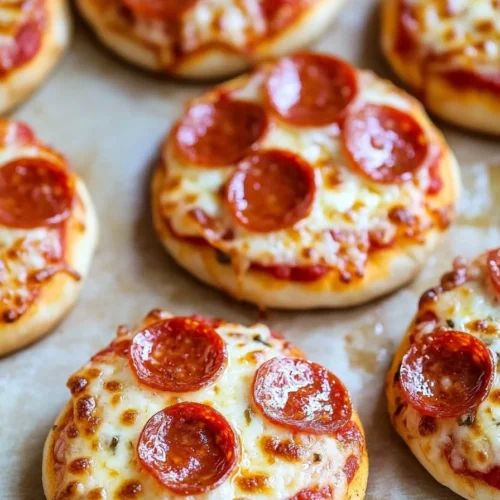
What if you could transform a classic favorite into a fun, portable meal? Enter Mini Lunchbox Pizzas! Whether you’re preparing for a busy school week, planning for a picnic, or just want a quick snack, these pizzas are the perfect solution. Who doesn’t love the crispy crust, gooey cheese, and endless topping options? They are customizable, packable, and best of all, made at home! These bites of joy not only please the taste buds but also add a special touch to your lunch routine. So, what are you waiting for? Let’s dive into making delicious Mini Lunchbox Pizzas.
🍴 Top Kitchen Essentials You'll Love


Key Benefits of Mini Lunchbox Pizzas
Why You’ll Love This Recipe
- Taste Explosion: Each mini pizza is loaded with your favorite flavors, making every bite a delight.
- Quick and Easy: Perfect for busy days! You can prepare them in around 20 minutes.
- Family-Friendly: Kids and adults alike will love customizing their own personal pizzas.
- Versatile Customization: You can switch up toppings and sauces based on season or preference.
- Great for Meal Prep: Perfect for lunches that can be made ahead and stored for later!
What Makes It Stand Out
Mini Lunchbox Pizzas are not just about satisfying hunger; they’re a celebration of flavors and creativity. You can easily incorporate seasonal ingredients like fresh vegetables or even fruits for a sweet twist. Unlike your standard pizza, these mini versions allow for personalization, making it easy to cater to different tastes and dietary needs. They’re perfect for playdates, lunchboxes, or even a fun family dinner. Plus, these little beauties can turn leftovers into something exciting!
Ingredients for Mini Lunchbox Pizzas
Complete Ingredient List with Measurements
To whip up these delightful mini pizzas, here’s what you’ll need:
- English Muffins or Mini Pizza Crusts: 4 halves
- Pizza Sauce: 1 cup (store-bought or homemade)
- Shredded Mozzarella Cheese: 1.5 cups
- Pepperoni Slices: 1 cup
- Bell Peppers (sliced): 1 cup
- Olives (sliced): 1/2 cup
- Fresh Basil (optional): A handful for taste enhancement
Substitutes and Alternatives
Got allergies or specific preferences? Here are some great alternatives:
- Crust Options: Try gluten-free pizza crusts or whole-wheat English muffins.
- Cheese: Substitute regular mozzarella with vegan cheese or cheddar.
- Sauce: Use pesto or a white sauce if you’re in the mood for something different.
- Toppings: Mix it up with vegetables like mushrooms, spinach, or your favorite proteins like grilled chicken.
How to Make Mini Lunchbox Pizzas – Step-by-Step Directions
Step 1 – Prep Your Workspace and Ingredients
Before you start, ensure your kitchen is set up for success! Gather your ingredients, tools (baking sheet, knife, and spoons), and preheat the oven to 375°F (190°C). This way, you can jump straight into the pizza-making action.
Step 2 – Prepare the Base or Crust
Take those English muffins or mini pizza crusts and slice them in half if they’re whole. Lay them flat on the baking sheet with the cut side facing up. This will make them easier to work with and ensure even cooking.
Step 3 – Make the Filling
Spread a generous layer of pizza sauce on each muffin half. Make sure to cover the entire surface; this means more flavor in each bite!
Step 4 – Sprinkle with Cheese
Next up—add the shredded mozzarella cheese. Use enough to create a nice, cheesy layer over the sauce. Don’t skimp on this; gooey cheese is key to pizza perfection!
Step 5 – Add Your Choice of Toppings
Now comes the fun part! Place the pepperoni slices, bell peppers, and olives on the cheese as you like. Be creative here! You can even arrange them in fun patterns if you’re making these for kids.
Step 6 – Bake for Perfection
Pop the baking sheet into your preheated oven. Bake for about 10-12 minutes or until the cheese is melted and bubbly. Keep an eye on them; every oven is different, and you want that cheese to be nicely golden.
Step 7 – Serve Warm
Once out of the oven, let them cool for a minute. If you’re feeling fancy, sprinkle fresh basil on top before serving. This adds a lovely aroma and a fresh taste.
Step 8 – Enjoy!
Now it’s time to dig in! Serve these mini pizzas warm, and enjoy each delightful bite. They are perfect for a quick lunch or as a fun appetizer!
Step 9 – (Optional) Pack for Later
If you’re planning on taking these mini pizzas for lunch later, let them cool completely before packing them in a lunchbox or airtight container.
Step 10 – Cleanup Time
Don’t forget to clean your workspace! It’s a small step that makes your kitchen ready for the next cooking adventure.
Serving Suggestions for Mini Lunchbox Pizzas
Best Occasions to Serve This Dish
- School Lunches: Easy to pack and eat, making them a school favorite.
- Picnics: Perfect for sharing outdoors, filling hungry bellies in a fun way.
- Game Days: Serve as a snack during sports events or family movie nights.
- Playdates: Kids can make their own mini pizzas, making it an engaging activity.
What to Serve With It
Enhance your dining experience with these delicious pairings:
- Drinks:
- Sparkling water
- Juice boxes
- Lemonade
- Sides:
- Fresh fruit
- Veggie sticks
- Chips
- Dips:
- Ranch dressing
- Marinara sauce
Storing Mini Lunchbox Pizzas Properly
Best Storage Practices
To keep your Mini Lunchbox Pizzas fresh, you have options based on your needs!
- Refrigerate: Store in an airtight container for up to 3 days.
- Freeze: They can last in the freezer for up to 2 months. Separate layers with parchment paper to prevent sticking.
Reheating and Freezing Tips
- To Reheat: Bake in an oven at 350°F (175°C) for about 5-10 minutes until heated through. Avoid microwaving to prevent sogginess.
- To Freeze/Thaw: If you freeze, let them thaw in the fridge overnight before reheating.
Tips & Tricks for Mini Lunchbox Pizzas
Mistakes to Avoid
- Soggy Base: Don’t over-sauce; stick to a moderate amount to keep that crust crispy.
- Uneven Cooking: Make sure the mini pizzas are evenly spaced on the baking sheet for consistent cooking.
Extra Tips for Better Results
- Make It Personal: Allow family members to customize their toppings for more fun.
- Add Flavor: Sprinkle garlic powder or Italian herbs into the sauce to kick it up a notch.
Recipe Variations of Mini Lunchbox Pizzas
Creative Twists
Feeling adventurous? Here are some fresh ideas:
- BBQ Chicken: Swap pizza sauce for BBQ sauce and add shredded chicken.
- Breakfast Pizza: Top with scrambled eggs, cheese, and cooked sausage for a morning treat.
- Sweet Version: Use nut butter and banana slices for a sweet snack. Drizzle with honey for an extra touch.
Dietary Adjustments
- Gluten-Free: Use gluten-free English muffins or crusts.
- Dairy-Free/Vegan: Substitute cheese with dairy-free cheese and skip pepperoni for vegetables.
Conclusion about Mini Lunchbox Pizzas
In summary, Mini Lunchbox Pizzas are a convenient, fun, and mouthwatering way to bring excitement back into lunchtime! With their easy prep, delightful taste, and numerous customization options, they’re ideal for any occasion. We encourage you to try this recipe—experiment with your favorite toppings and enjoy the satisfaction of your homemade pizzas. Don’t forget to share your creations and feedback with friends and family!
FAQs about Mini Lunchbox Pizzas
What if it doesn’t turn out right?
Don’t fret! If your pizzas don’t look perfect, they can still taste amazing. Just ensure that the base is crispy and that the cheese is gooey for a delicious result.
Can I prepare it ahead of time?
Yes! You can prepare the toppings and store them separately or assemble your pizzas ahead and refrigerate them until you’re ready to bake.
What are the best ingredient substitutions?
Common substitutions include whole-wheat crust, vegan cheese, and any vegetables you enjoy. Feel free to get creative with your ingredients!
How long can it be stored?
Store cooked Mini Lunchbox Pizzas in the fridge for up to 3 days or freeze them for 2 months.
Can I use store-bought dough or crust?
Absolutely! Store-bought dough or pre-made crusts save time and work just as well in this recipe.
Is this recipe kid-friendly or family-appropriate?
Definitely! Kids love personalizing their pizzas, making it a fun and engaging activity for the whole family.
Can I make this recipe allergen-free?
Yes! Just substitute the crust for a gluten-free option and choose toppings that meet the dietary needs of those eating the pizzas.
Now that you have all the information to make your own delightful Mini Lunchbox Pizzas, it’s time to get started! Happy cooking!
Delicious Mini Lunchbox Pizzas
Equipment
- Baking sheet
- Knife
Ingredients
- 4 halves English muffins or mini pizza crusts
- 1 cup pizza sauce store-bought or homemade
- 1.5 cups shredded mozzarella cheese
- 1 cup pepperoni slices
- 1 cup bell peppers sliced
- ½ cup olives sliced
- fresh basil optional, for garnish


Instructions
- Preheat oven to 375°F (190°C). Gather ingredients and prepare a baking sheet.
- Slice English muffins in half and place on baking sheet, cut side up.
- Spread pizza sauce evenly on each muffin half.
- Sprinkle shredded mozzarella cheese on top of the sauce.
- Add toppings such as pepperoni, bell peppers, and olives as desired.
- Bake for 10-12 minutes, until cheese is melted and bubbly.
- Remove from oven, garnish with fresh basil, and serve warm.
- (Optional) Let cool completely before packing for lunchboxes.