
This post may contain affiliate links. As an Amazon Associate, I earn from qualifying purchases at no extra cost to you.
Table of Contents
🍴 Top Kitchen Essentials You'll Love


Introduction about Candied Apples for Halloween
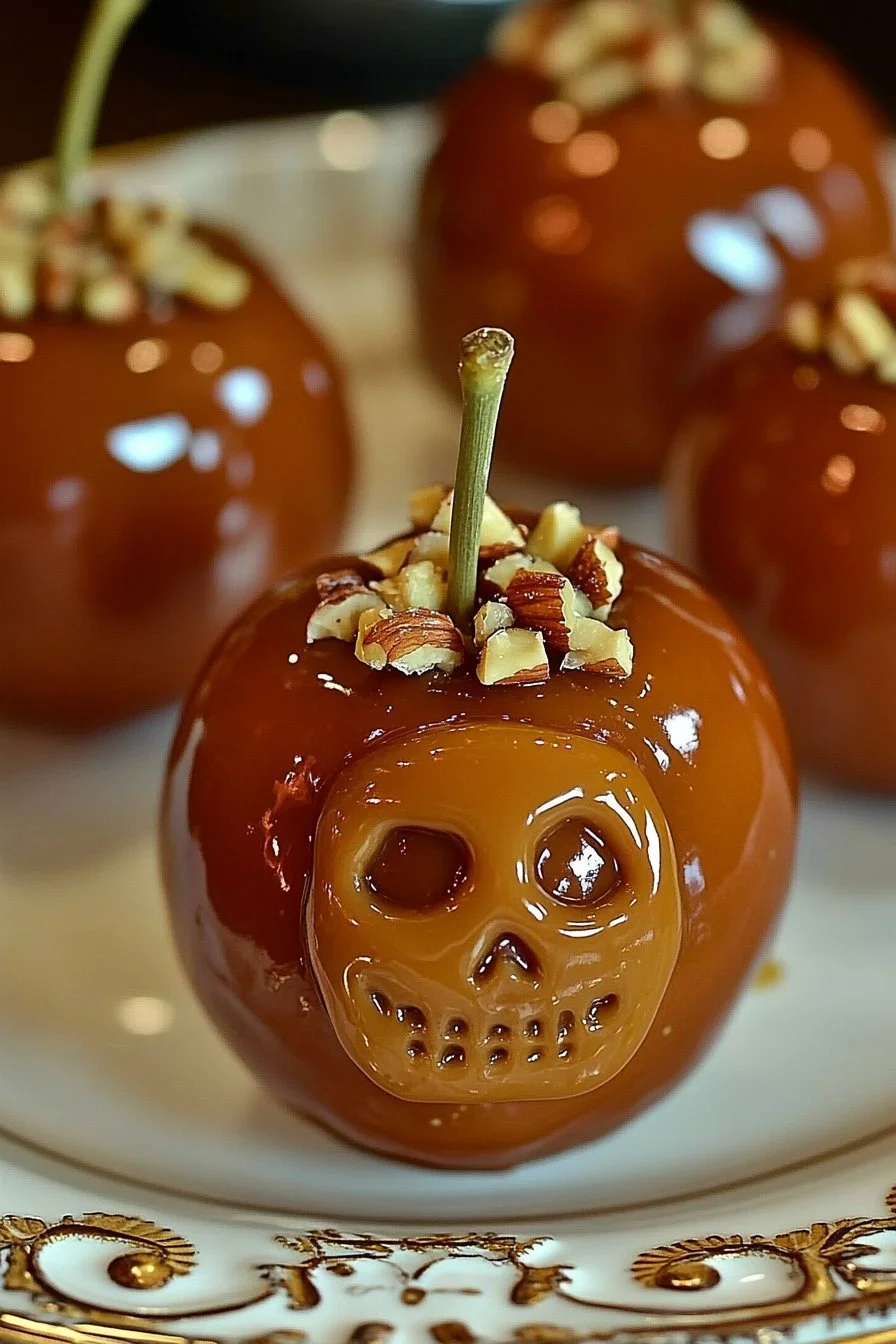
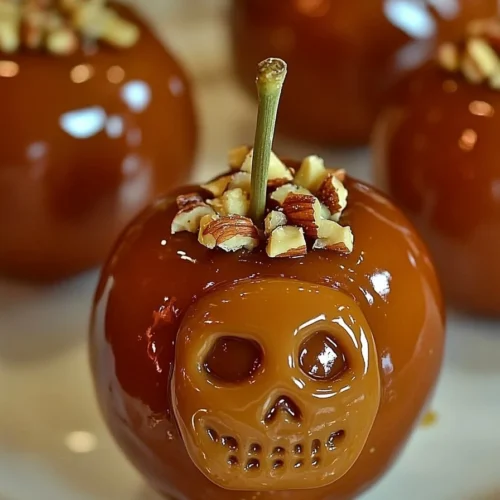
Ah, Halloween! It’s that magical time of year when kids—both young and young at heart—dress up in costumes and venture out for some trick-or-treating. But what can be better than the traditional candies and treats? How about making your very own Candied Apples for Halloween? They’re not only fun to make but also delicious and visually delightful! Imagine biting into a crisp apple, coated in a glossy, sugary shell—can you say “yum”?
This recipe is perfect for bringing a bit of Halloween spirit into your kitchen. In just a few simple steps, you’ll have a batch of stunning candied apples that will impress your guests and delight the little trick-or-treaters. Plus, the best part? They’re easy to make! Who wouldn’t appreciate a festive treat that’s both charming and tasty? From family gatherings to Halloween parties, these candied apples will be the hit of any event.
Let’s dive into how to create these beautiful, sweet treats that perfectly embody the excitement of Halloween!
Key Benefits of Candied Apples for Halloween
Why you’ll love this recipe
- Delicious Flavor: The combination of sweet, sticky candy with tart apples is truly irresistible.
- Fun Activity: Making candied apples can be a delightful bonding experience for families and friends.
- Customizable: You can add nuts, sprinkles, and even different food colors to make your apples unique!
- Eye-Catching Presentation: They look gorgeous and make for perfect Halloween decorations.
- Kid-Friendly: This recipe is fun for kids to help with—just supervise around hot sugar!
What makes it stand out
Candied apples are a classic treat, but they hold a special place during Halloween. The bright colors and shiny finish make them look like something magical. Plus, the fun doesn’t stop at candy coating! There’s an opportunity for creativity when it comes to topping options like nuts or sprinkles.
What truly sets this recipe apart is its simplicity. You don’t need fancy equipment or hard-to-find ingredients. Just grab some fresh apples and a few kitchen staples, and you’re on your way to creating something special!
Ingredients for Candied Apples for Halloween
Complete ingredient list with measurements
Gather these items before you start:
- 6 small apples (Granny Smith or any firm variety)
- 6 wooden sticks or skewers
- 2 cups granulated sugar
- 1/2 cup light corn syrup
- 3/4 cup water
- 1/2 teaspoon vanilla extract
- Orange food coloring (optional)
- 1/2 cup chopped nuts (optional, for topping)
Substitutes and alternatives
- Apples: Use different varieties such as Fuji or Gala, depending on your preference.
- Corn Syrup: Agave nectar or honey may provide a different flavor but will work similarly.
- Coloring: If orange isn’t your style, consider using red or green food coloring for a fun twist!
- Nuts: Feel free to swap in seeds (like pumpkin seeds) or omit the nuts altogether for a nut-free version.
How to Make Candied Apples for Halloween – Step-by-Step Directions
Step 1 – Prep your workspace and ingredients
Before you start cooking, it’s essential to prepare everything. Clean your workspace and gather all your ingredients. Also, line a baking sheet with parchment paper so that the apples don’t stick later!
Step 2 – Wash and dry the apples
Thoroughly wash each apple under running water to remove any waxy residue. Dry them completely with a clean towel. This step is important because water can interfere with the candy coating.
Step 3 – Insert the sticks
Remove the stems from each apple. Insert a wooden stick or skewer into the top of each apple, pushing it about halfway through. Place them on the prepared baking sheet.
Step 4 – Combine sugar, corn syrup, and water
In a medium saucepan, combine 2 cups of granulated sugar, 1/2 cup of light corn syrup, and 3/4 cup of water. Stir gently over medium heat until the sugar dissolves.
Step 5 – Heat to the hard crack stage
Increase the heat to medium-high and bring the mixture to a boil.
- Tip: Avoid stirring once it boils; this will help prevent crystallization.
Step 6 – Monitor the temperature
Using a candy thermometer, monitor the cooking mixture closely. Cook until it reaches 300°F (150°C), known as the hard crack stage. This usually takes about 10-15 minutes.
Step 7 – Add flavor and color
As soon as the candy reaches the appropriate temperature, remove it from the heat. Rapidly stir in the vanilla extract and a few drops of orange food coloring, if desired. Be cautious as the syrup will bubble!
Step 8 – Coat the apples
Now comes the fun part!
- Working quickly, tilt the saucepan slightly to dip each apple into the hot candy mixture.
- Rotate the apple for even coating, then allow any excess candy to drip off before placing it back on the baking sheet.
Step 9 – Add toppings
If you’re using chopped nuts or any toppings, sprinkle them on immediately after coating while the candy is still warm.
Step 10 – Allow to cool
Let the candied apples sit at room temperature until the coating hardens completely. This should take about 30 minutes.
Serving Suggestions for Candied Apples for Halloween
Best occasions to serve this dish
Candied apples are perfect for Halloween parties, fall festivals, and spooky movie nights. You can also serve them at school events or give them as festive gifts!
What to serve with it
- Beverages: Spiced cider, hot chocolate, or apple juice.
- Toppings: Drizzle with caramel or chocolate sauce for a twist.
- Sides: Pair with popcorn for a fun snack mix!
Storing Candied Apples for Halloween Properly
Best storage practices
Store your leftover candied apples in a cool, dry place. If you’re planning to keep them longer, refrigerate them in an airtight container for up to a week.
Reheating and freezing tips
Reheating isn’t usually an option since the sugar coating can melt. However, if you want to freeze them, place the apples in a single layer on a baking sheet and freeze until hard. Then, transfer them to a freezer-safe container. Just be aware that the texture may change slightly.
Tips & Tricks for Candied Apples for Halloween
Mistakes to avoid
- Not drying the apples: This can cause the candy coating to slide off.
- Stirring while boiling: This could lead to crystallization and ruin your candy.
- Not using a thermometer: Guessing the temperature can lead to disappointing results.
Extra tips for better results
- If you prefer a thicker coating, dip the apple into the candy mixture twice.
- Customize colors and flavors based on your favorite Halloween themes or costumes.
Recipe Variations of Candied Apples for Halloween
Creative twists
- Spices: Add cinnamon, nutmeg, or pumpkin spice to the candy mixture for seasonal flavors.
- Chocolate drizzle: After the candy coating sets, drizzle melted chocolate on top for an impressive finish.
- Use different toppings: Try crushed cookies, candy sprinkles, or even coconut flakes!
Dietary adjustments
For a vegan version, substitute the sugar with coconut sugar and ensure your corn syrup is vegan-friendly. You can also use dairy-free chocolate for drizzling!
Conclusion about Candied Apples for Halloween
In summary, Candied Apples for Halloween are not only delicious but also serve as a fun craft for families during the spooky season. They are quick and easy to make, and their festive appeal will have everyone smiling. I encourage you to try out this delightful recipe and enjoy the sweet treat together with loved ones!
If you have any questions or tips to share, feel free to let me know. Happy Halloween, and may your candied apples turn out perfectly!
FAQs about Candied Apples for Halloween
What if it doesn’t turn out right?
Don’t worry if things don’t go perfectly! If the candy doesn’t harden, reheat it and dip the apples again. If they are too sticky, add a little more sugar next time.
Can I prepare it ahead of time?
Yes! You can make candied apples a day in advance, just store them in the fridge in an airtight container to keep them fresh.
What are the best ingredient substitutions?
Common substitutes include agave syrup for corn syrup, different nut toppings, or even using chocolate for a different flavor profile.
How long can it be stored?
Candied apples can last in an airtight container for up to a week at room temperature or a bit longer if refrigerated.
Can I use store-bought dough or crust?
This recipe doesn’t use dough or crust, but using a pre-made caramel for coating can work if you’re short on time!
Is this recipe kid-friendly or family-appropriate?
Absolutely! Kids love making these candied apples with adult supervision, especially during Halloween!
Can I make this recipe allergen-free?
Yes, you can! Opt for nut-free toppings and make sure all ingredients are free from common allergens according to your needs.
With these FAQs, you should feel more confident about making such a delicious treat. Happy candy making!
Candied Apples – Irresistible Fall Treats
Equipment
- Medium saucepan
- Candy Thermometer
- Wooden sticks or skewers
- Baking sheet
- Parchment Paper
Ingredients
Main Ingredients
- 6 small apples Granny Smith or any firm variety
- 6 wooden sticks or skewers
- 2 cups granulated sugar
- ½ cup light corn syrup
- ¾ cup water
- ½ teaspoon vanilla extract
- Orange food coloring optional
- ½ cup chopped nuts optional, for topping


Instructions
- Line a baking sheet with parchment paper. Wash and dry apples thoroughly to remove any wax or residue.
- Insert wooden sticks or skewers into tops of apples. Set apples aside on the prepared baking sheet.
- In a medium saucepan, combine sugar, light corn syrup, and water. Stir gently over medium heat just until sugar dissolves.
- Attach a candy thermometer and bring the mixture to a boil; cook without stirring until the temperature reaches the hard crack stage at 300 °F (150 °C).
- Remove from heat. Stir in vanilla extract and a few drops of orange food coloring, if using.
- Working quickly, dip each apple into the hot syrup, turning to coat evenly. Allow excess to drip off before placing on the parchment-lined sheet.
- If using, sprinkle chopped nuts or other toppings immediately while coating is still sticky.
- Allow apples to cool at room temperature until the sugar shell hardens completely, about 30 minutes.