
This post may contain affiliate links. As an Amazon Associate, I earn from qualifying purchases at no extra cost to you.
Table of Contents
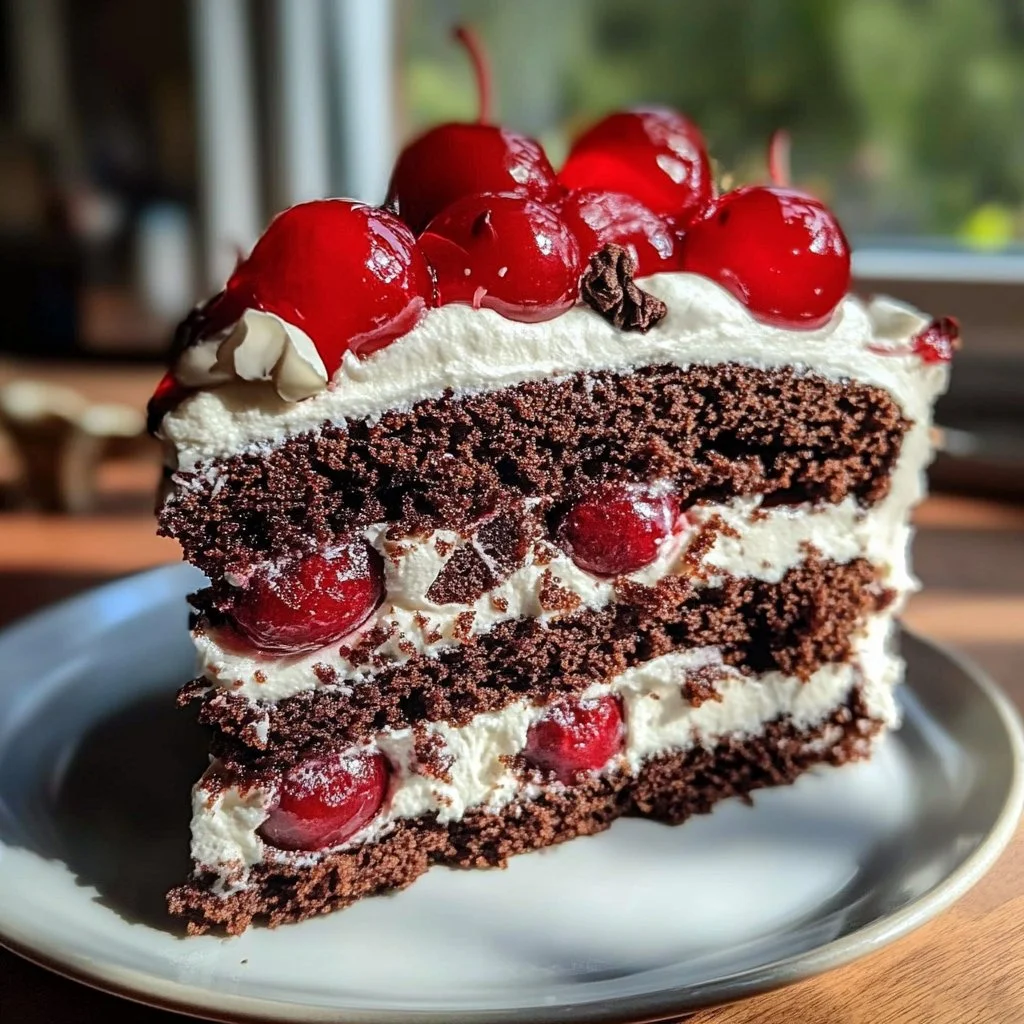
The holiday season is a time of celebration, and what better way to celebrate than with a sumptuous dessert? The Christmas Black Forest Cake is not just a treat; it’s a delightful experience that combines rich chocolate cake layers with the tartness of cherries and the creaminess of whipped cream. Have you ever wondered what makes this cake so special? From its alluring flavors to its stunning presentation, this cake has it all. Let’s dive into why the Christmas Black Forest Cake: 7 Reasons to Indulge is a must-have on your festive table.
This recipe brings together the essence of Christmas with its vibrant colors and luxurious taste. Imagine sitting around the table with family and friends, sharing stories and laughter, while indulging in a slice of moist chocolate cake nestled between layers of luscious cherries and fluffy whipped cream. There’s something nostalgic about this classic dessert that captivates generations. It’s easy to prepare, allowing you to spend less time in the kitchen and more time with loved ones.
What sets this cake apart is its versatility. You can personalize it with different flavors or ingredients to match your family’s preferences. Whether you’re hosting a holiday party or simply wanting to treat yourself, the Christmas Black Forest Cake is the perfect choice. With each bite, you can experience the perfect harmony of sweetness and tartness that makes this cake unforgettable.
As you bake your Christmas Black Forest Cake, the aroma of cocoa and cherries will fill your home, bringing everyone together to celebrate. And let’s be honest, who doesn’t love a dessert that’s as beautiful as it is delicious? Each layer of this cake tells a story of indulgence and festive cheer. The Christmas Black Forest Cake: 7 Reasons to Indulge is more than just a recipe; it’s an invitation to make memories.
🍴 Top Kitchen Essentials You'll Love


Key Benefits of Christmas Black Forest Cake: 7 Reasons to Indulge
Why You’ll Love This Recipe
- Irresistible Flavor: The rich chocolate pairs beautifully with tart cherries, creating a perfect balance.
- Easy to Make: Even novice bakers can whip up this cake with simple steps.
- Customizable: Adapt the recipe by adding your favorite flavors or toppings.
- Eye-Catching Presentation: The layers of chocolate and cream look stunning on any holiday table.
- Family-Friendly Appeal: This cake is loved by both adults and kids, making it a crowd-pleaser.
What Makes It Stand Out
The Christmas Black Forest Cake is a crowd favorite due to its originality. Its unique combination of flavors is a delightful surprise for the taste buds. The cherries used in the recipe not only add a splash of color but also provide a refreshing contrast to the dense chocolate cake. This dessert is particularly wonderful during the holiday season, making it a staple at many family gatherings.
Another factor that makes this cake special is the opportunity for customization. You can use fresh or jarred cherries, and even experiment with different types of chocolate or cream! Whether you’re celebrating Christmas, a birthday, or any special occasion, this cake is versatile enough to fit the moment perfectly.
Ingredients for Christmas Black Forest Cake: 7 Reasons to Indulge
Complete Ingredient List with Measurements
- 2 cups all-purpose flour – For structure and texture.
- 1 3/4 cups granulated sugar – Sweetness to balance the cocoa.
- 3/4 cup unsweetened cocoa powder – The rich chocolate flavor.
- 1 1/2 teaspoons baking powder – Helps the cake rise.
- 1 1/2 teaspoons baking soda – Works with the baking powder for leavening.
- 1 teaspoon salt – Enhances the flavors.
- 2 large eggs – Adds moisture and richness.
- 1 cup milk – Ensures a tender cake.
- 1/2 cup vegetable oil – Keeps the cake moist.
- 2 teaspoons vanilla extract – A lovely flavor enhancer.
- 1 cup boiling water – Creates a thin batter for a moist cake.
- 1 jar (24 oz) sour cherries, drained – Adds a tart and sweet element.
- 2 cups heavy whipping cream – For decadent frosting.
- 1/4 cup powdered sugar – To sweeten the whipped cream.
- Chocolate shavings for garnish – A beautiful finishing touch.
Substitutes and Alternatives
If you’re looking to make substitutions for dietary needs, there are plenty of options for the Christmas Black Forest Cake. You can use gluten-free flour if you need a gluten-free version. Just be sure to check that your baking powder is gluten-free as well.
For those avoiding dairy, consider using almond milk and a dairy-free whipping cream alternative. You can also replace eggs with flaxseed meal mixed with water for a vegan adaptation. The essential flavors will remain intact, ensuring everyone can enjoy a piece of this festive dessert.
How to Make Christmas Black Forest Cake: 7 Reasons to Indulge – Step-by-Step Directions
Step 1 – Prepare Ingredients
Start by gathering all your ingredients. Preheat your oven to 350°F (175°C) and grease two 9-inch round cake pans with flour.
Step 2 – Cook the Base
In a large mixing bowl, combine flour, sugar, cocoa powder, baking powder, baking soda, and salt. Whisk gently to blend all dry ingredients evenly.
Step 3 – Add Wet Ingredients
Next, add the eggs, milk, vegetable oil, and vanilla extract to the dry mixture. Beat on medium speed for about two minutes until you have a smooth batter.
Step 4 – Incorporate Boiling Water
Carefully stir in the boiling water. The batter will be very thin, but that’s what makes the cake moist! Ensure all ingredients are well combined.
Step 5 – Bake the Cake
Pour the batter evenly into the prepared pans. Place in the preheated oven and bake for 30-35 minutes. Use a toothpick to check doneness; it should come out clean.
Step 6 – Cool the Cakes
Once baked, let the cakes cool in the pans for about 10 minutes. Then, carefully remove them and transfer to wire racks to cool completely.
Step 7 – Whip the Cream
While the cakes cool, whip the heavy cream in a bowl until soft peaks form. Gradually add powdered sugar to sweeten the cream.
Step 8 – Layer the Cake
On a serving plate, place one cake layer. Spread a layer of whipped cream over this first layer. Add the drained sour cherries generously on top.
Step 9 – Finish with the Second Layer
Place the second cake layer on top and frost the top and sides with the remaining whipped cream.
Step 10 – Garnish and Serve!
Top with chocolate shavings and any extra cherries for garnish. Now, your Christmas Black Forest Cake is ready to wow your guests!
Serving Suggestions for Christmas Black Forest Cake: 7 Reasons to Indulge
Best Occasions to Serve This Dish
The Christmas Black Forest Cake is an ideal dessert for holiday gatherings. Its festive presentation makes it a centerpiece at Christmas parties. You can also serve it during birthdays, anniversaries, or any celebration.
This cake pairs beautifully with a steaming cup of coffee or hot chocolate. It’s also perfect for a cozy dessert after dinner with family. The inviting flavor will leave everyone asking for seconds.
What to Serve With It
- Coffee or Tea: A warm drink complements the cake’s sweetness perfectly.
- Vanilla Ice Cream: A scoop of ice cream adds an extra level of indulgence.
- Fruit Salad: A light fruit salad balances the richness of the cake.
- Chocolate Sauce: Drizzling chocolate sauce on slices takes it to another level.
How to Store Christmas Black Forest Cake: 7 Reasons to Indulge Properly
Best Storage Practices
To keep your Christmas Black Forest Cake fresh, store it in an airtight container in the fridge. It can last for about 3-4 days. If the cake is whole, cover it gently with plastic wrap.
Reheating and Freezing Tips
If you have leftovers, you can freeze individual slices. Wrap each slice tightly in plastic wrap before placing them in a freezer bag. Thaw the slices in the refrigerator overnight when you’re ready to enjoy them again.
Tips & Tricks for Christmas Black Forest Cake: 7 Reasons to Indulge
Mistakes to Avoid
- Not Cooling Completely: Make sure the cakes cool entirely before frosting, or the cream might melt.
- Overmixing Batter: Mixing the batter too much can make the cake dense. Mix just until combined.
- Skipping Boiling Water: Don’t skip the boiling water, as it keeps the cake moist.
- Using Warm Ingredients: Always use room-temperature eggs and other ingredients for better incorporation.
- Forget to Grease the Pans: This can lead to a cake that sticks, making removal challenging.
Extra Tips for Better Results
For added flavor, consider infusing the whipped cream with almond extract or a splash of cherry liqueur. You could also layer in some extra cherries between cake layers for a burst of flavor. Topping with fresh cherries for a garnish can make it look even more inviting.
Recipe Variations of Christmas Black Forest Cake: 7 Reasons to Indulge
Creative Twists
- Mint Chocolate Version: Add a few drops of peppermint extract to the cake batter for a seasonal twist.
- White Chocolate: Substitute some cocoa powder with white chocolate for a richer flavor.
- Stout-infused Cake: Incorporate a stout beer for a deeper, richer chocolate cake experience.
- Cheesecake Layer: Alternate with a cheesecake layer for a fun mix of textures.
Dietary Adjustments
To adapt for a vegan diet, replace eggs with flax eggs and use a non-dairy cream alternative. For gluten-free versions, utilize gluten-free flour blends and ensure other ingredients are gluten-free.
Conclusion about Christmas Black Forest Cake: 7 Reasons to Indulge
The Christmas Black Forest Cake: 7 Reasons to Indulge is a beautiful, flavorful dessert that will make your holidays more memorable. Its rich layers of chocolate, sweet cherries, and fluffy cream capture the essence of celebration. Whether you’re enjoying it with family, friends, or at a festive gathering, this cake brings joy and indulgence to any occasion.
With its straightforward preparation, festive vibes, and customizable elements, the Christmas Black Forest Cake can quickly become your go-to holiday masterpiece. Don’t miss the chance to create wonderful memories while savoring this decadent dessert. It’s time to indulge your sweet tooth and celebrate the season!
FAQs about Christmas Black Forest Cake: 7 Reasons to Indulge
Can I prepare it ahead of time? Yes, you can bake the cake layers a day in advance and assemble before serving.
Can I freeze it? Absolutely! Wrap slices individually and freeze for later enjoyment.
How long does it last? The cake can stay fresh in the fridge for 3-4 days.
What are the best substitutions? Gluten-free flour can replace regular flour, and non-dairy cream can replace heavy cream for dairy-free versions.
Is this recipe family-friendly? Yes! Its flavors are appealing to both kids and adults.
Can I use fresh cherries instead of jarred? Yes! Fresh cherries work wonderfully, especially in season.
What can I do with leftovers? Enjoy them as a sweet treat later or incorporate them into a trifle!
Is this cake suitable for parties? Definitely! The stunning presentation and flavors make it a crowd-pleaser.
Can I add layers of other flavors? Yes! Feel free to incorporate layers of cheesecake or fruit puree for added variation.
How can I enhance the decoration? Use colorful sprinkles or fresh mint leaves for a festive touch!

Christmas Black Forest Cake
Ingredients
For the Cake
- 2 cups all-purpose flour For structure and texture.
- 1.75 cups granulated sugar Sweetness to balance the cocoa.
- 0.75 cups unsweetened cocoa powder The rich chocolate flavor.
- 1.5 teaspoons baking powder Helps the cake rise.
- 1.5 teaspoons baking soda Works with the baking powder for leavening.
- 1 teaspoon salt Enhances the flavors.
- 2 large eggs Adds moisture and richness.
- 1 cup milk Ensures a tender cake.
- 0.5 cups vegetable oil Keeps the cake moist.
- 2 teaspoons vanilla extract A lovely flavor enhancer.
- 1 cup boiling water Creates a thin batter for a moist cake.
For the Filling and Topping
- 1 jar (24 oz) sour cherries, drained Adds a tart and sweet element.
- 2 cups heavy whipping cream For decadent frosting.
- 0.25 cups powdered sugar To sweeten the whipped cream.
- Chocolate shavings for garnish A beautiful finishing touch.


Instructions
Preparation
- Start by gathering all your ingredients. Preheat your oven to 350°F (175°C) and grease two 9-inch round cake pans with flour.
- In a large mixing bowl, combine flour, sugar, cocoa powder, baking powder, baking soda, and salt. Whisk gently to blend all dry ingredients evenly.
- Add the eggs, milk, vegetable oil, and vanilla extract to the dry mixture. Beat on medium speed for about two minutes until you have a smooth batter.
- Carefully stir in the boiling water. The batter will be very thin, but that’s what makes the cake moist! Ensure all ingredients are well combined.
- Pour the batter evenly into the prepared pans. Place in the preheated oven and bake for 30-35 minutes. Use a toothpick to check doneness; it should come out clean.
- Once baked, let the cakes cool in the pans for about 10 minutes. Then, carefully remove them and transfer to wire racks to cool completely.
Assembly
- While the cakes cool, whip the heavy cream in a bowl until soft peaks form. Gradually add powdered sugar to sweeten the cream.
- On a serving plate, place one cake layer. Spread a layer of whipped cream over this first layer. Add the drained sour cherries generously on top.
- Place the second cake layer on top and frost the top and sides with the remaining whipped cream.
- Top with chocolate shavings and any extra cherries for garnish. Now, your Christmas Black Forest Cake is ready to wow your guests!