
This post may contain affiliate links. As an Amazon Associate, I earn from qualifying purchases at no extra cost to you.
Table of Contents
🍴 Top Kitchen Essentials You'll Love


Introduction to Lotion Bars: 7 Magical Recipes for Soft, Glowing Skin
Have you ever dreamed of having soft, glowing skin without the burden of harsh chemicals? If yes, then you’re in for a treat! Lotion Bars: 7 Magical Recipes for Soft, Glowing Skin offers a simple, luxurious solution that can transform your skincare routine. Imagine smooth, supple skin that glows with health and vitality. Homemade lotion bars are the answer to your dreams, combining convenience with a touch of lavishness.
What sets these lotion bars apart is their ease of preparation and natural ingredients. Forget about store-bought lotions packed with synthetic substances. Instead, dive into creating your very own bars that nourish and hydrate your skin in the most delightful way. The joy of making these lotion bars is not just in the final product but in the process of crafting something personalized to your needs.
Whether you’re looking to pamper yourself, create unique gifts, or seek natural skin care options, Lotion Bars: 7 Magical Recipes for Soft, Glowing Skin has something for everyone. Plus, you can customize them with your favorite essential oils, making each batch uniquely yours. So why settle for ordinary when you can create something extraordinary? Get ready to unlock the full potential of your skin with these remarkable recipes!
Key Benefits of Lotion Bars: 7 Magical Recipes for Soft, Glowing Skin
Why You’ll Love This Recipe
- Natural Ingredients: Made with beeswax, shea butter, and coconut oil, ensuring no harmful chemicals.
- Easy to Make: Simple steps that anyone can follow—perfect even for beginners!
- Customization: Tailor the bars to your scent preference with various essential oils.
- Long-lasting Moisture: Provides a protective barrier that keeps skin hydrated for hours.
- Creative Gift: Great for personalized gifts; loved ones will appreciate your thoughtfulness.
What Makes It Stand Out
Lotion Bars: 7 Magical Recipes for Soft, Glowing Skin offers amazing versatility. They not only hydrate but can also serve various purposes, such as being used for massage or as a soothing balm for dry patches. Each recipe can be customized, whether you prefer floral, spicy, or woodsy scents. This is perfect for special occasions, or you can keep them for your daily self-care rituals.
Moreover, the combination of their crafting process and the nourishing properties of the ingredients highlight the originality of these recipes. You can experiment with colors, shapes, and scents, making each experience fun and rewarding. Imagine gifting someone a beautifully wrapped box of your handmade lotion bars—it’s a delightful way to show you care!
Ingredients for Lotion Bars: 7 Magical Recipes for Soft, Glowing Skin
Complete Ingredient List with Measurements
- 1 cup beeswax
- 1/2 cup shea butter
- 1/2 cup coconut oil
- Essential oils (optional)
Substitutes and Alternatives
If you’re allergic to specific ingredients or prefer alternatives, don’t worry! You can replace beeswax with candelilla wax for a vegan option. Fractionated coconut oil is a perfect substitute for regular coconut oil if you want a lighter texture. Similarly, you can explore other butters like cocoa butter for a unique aroma and moisture experience.
If essential oils are not your preference due to allergies or sensitivities, you can consider using natural flavor extracts. Vanilla or almond extracts might add a pleasant scent without causing irritations. Always remember to patch test any substitutes to ensure they suit your skin type.
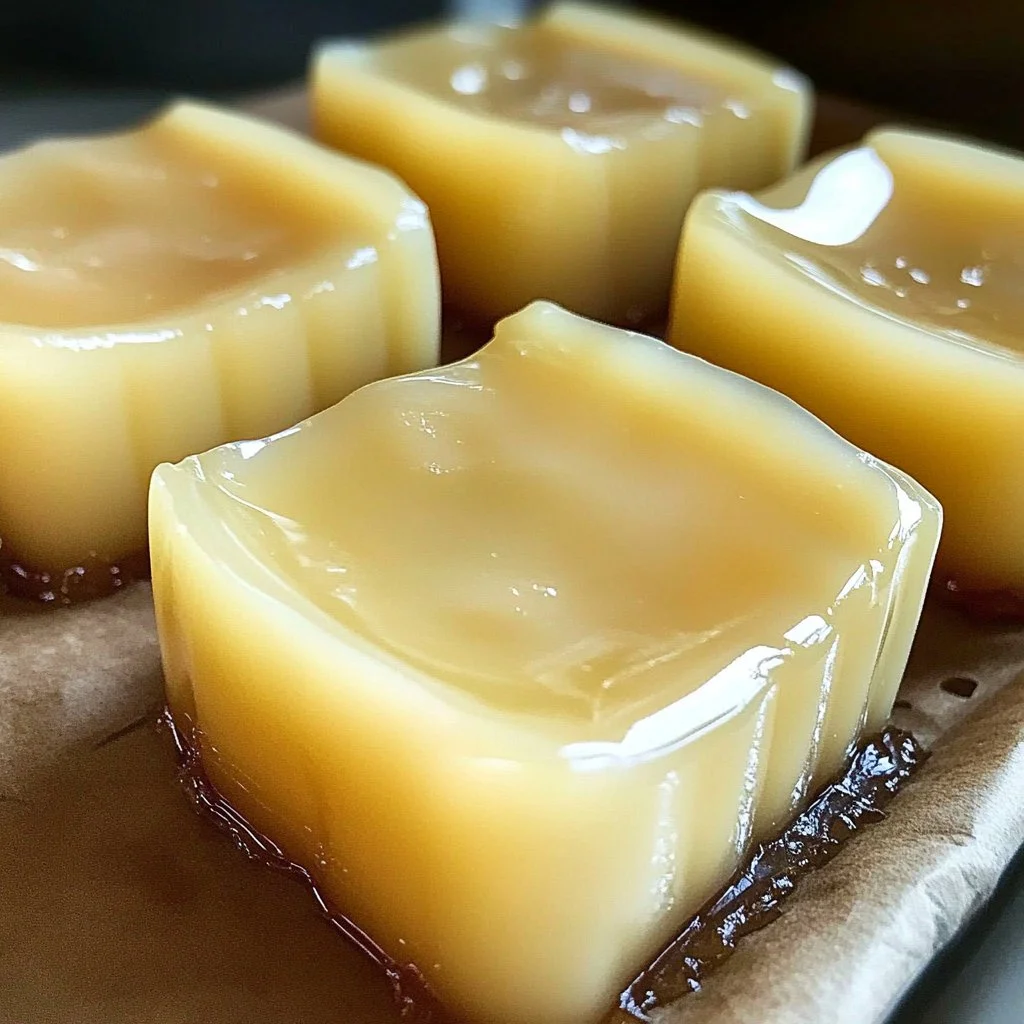
How to Make Lotion Bars: 7 Magical Recipes for Soft, Glowing Skin – Step-by-Step Directions
Step 1 – Prepare Ingredients
Before starting, gather all your ingredients and necessary tools, including a double boiler, stirring spoon, and molds for shaping your lotion bars. It’s best to measure everything out beforehand to ensure a smooth process.
Step 2 – Cook the Base
In your double boiler, combine the beeswax, shea butter, and coconut oil. Heat them over medium heat until melted, stirring occasionally. You’ll know it’s ready when everything is completely liquefied and well-combined. This should take about 10-15 minutes.
Step 3 – Stir Until Fully Combined
Once melted, continue stirring to ensure all ingredients are mixed thoroughly. The mixture should be smooth without any lumps. Feel free to adjust the heat if necessary, ensuring it doesn’t boil.
Step 4 – Add Essential Oils If Desired
Once you have a smooth mixture, remove it from heat. Add your chosen essential oils at this point. Start with about 10-15 drops and adjust according to your preference. Stir gently to combine the oils into the mixture evenly.
Step 5 – Pour Mixture into Molds
Carefully pour the liquid into your prepared molds. You can use silicone molds for easier removal or any container you have on hand. Make sure not to overfill, as the bars may spill over the sides.
Step 6 – Let Cool Until Solid
Allow the lotion bar to sit at room temperature until they cool and harden. This process typically takes about 30-60 minutes, depending on room temperature. For quicker results, you can place the molds in the refrigerator for about 20-30 minutes.
Step 7 – Remove from Molds
Once solid, gently pop the lotion bar out of the molds. If you’re having trouble, a gentle twist or using a spatula can help. Your lotion bar should slide out smoothly if the molds are adequately prepared.
Step 8 – Store in a Cool, Dry Place
Finally, place the lotion bar in a cool, dry location or store them in an airtight container. Avoid direct sunlight, as it can cause the bars to melt. Your homemade lotion bar will be ready for use or gifting!
Serving Suggestions for Lotion Bars: 7 Magical Recipes for Soft, Glowing Skin
Best Occasions to Serve This Dish
Lotion Bar: 7 Magical Recipes for Soft, Glowing Skin is perfect for various occasions, from birthday parties to holiday celebrations. They make thoughtful gifts for friends and family, especially when paired with a personalized card. You can also host a DIY spa night and have everyone make their own batches to enjoy!
What to Serve With It
These lotion bar are a great standalone gift but can enhance a full self-care package with items like bath bombs, homemade scrubs, or scented candles. Complement them with herbal teas, soothing music, or a relaxing atmosphere to enhance the experience.
How to Store Lotion Bars: 7 Magical Recipes for Soft, Glowing Skin Properly
Best Storage Practices
To maintain the integrity of your lotion bar, it’s best to store them in a cool, dry place, away from heat and sunlight. An airtight container is ideal, ensuring they retain their shape and properties for a longer period.
Reheating and Freezing Tips
If your lotion bars melt, you can gently reheat them using the double boiler method. Avoid direct heat to ensure they do not lose their beneficial properties. They can be frozen if you wish to make a batch ahead of time, just remember to let them come to room temperature for about an hour before use.
Tips & Tricks for Lotion Bars: 7 Magical Recipes for Soft, Glowing Skin
Mistakes to Avoid
1 – Using Too Much Heat: High temperatures can damage the beneficial properties of the oils and butters. Stick to low to medium heat.
2 – Neglecting Essential Oils: Forgetting to add essential oils can result in bland-smelling bars. Experiment with different scents!
3 – Not Measuring Accurately: For the best results, always measure ingredients accurately. Too much or too little can change the texture.
4 – Rushing the Cooling Process: Be patient! Rushing drying can lead to uneven bars. Let them cool naturally.
5 – Improper Storage: Ensure the bars are stored correctly to maintain their texture and usability.
Extra Tips for Better Results
Consider mixing in a little vitamin E oil for additional skin benefits. Appearance-wise, you can add natural colorants for a visually pleasing touch. Experiment with different shapes and scents as you become more comfortable with the process to find what works best for you.
Recipe Variations of Lotion Bars: 7 Magical Recipes for Soft, Glowing Skin
Creative Twists
1 – Lavender Dream: Incorporate lavender essential oil for a calming, soothing bar perfect for bedtime use.
2 – Citrus Burst: Use lemon or orange essential oils for a refreshing and uplifting scent that’s ideal for daytime.
3 – Herbal Infusion: Consider adding dried herbs like calendula or chamomile for added skin benefits and visual appeal.
4 – Cocoa Bliss: Combine cocoa butter with shea butter for an extra rich lotion bar that smells divine.
Dietary Adjustments
For a vegan option, substituting candelilla wax for beeswax creates a plant-based alternative. You can also opt for organic shea and coconut oils to ensure they meet specific dietary preferences. These adjustments make it easier to cater to a broader audience.
Conclusion about Lotion Bars: 7 Magical Recipes for Soft, Glowing Skin
In conclusion, Lotion Bars: 7 Magical Recipes for Soft, Glowing Skin is not only a delightful addition to your skincare routine but also a fantastic way to embrace creativity. The process of creating these bars exemplifies the beauty of homemade products, built around natural ingredients that care for our skin without harmful additives.
Trying this recipe opens a world of possibilities for unique scents and textures, allowing you to personalize your skincare with ease. Whether for personal use or gifting, these magical lotion bars are sure to make a lasting impression, offering soft, glowing skin with each use. So grab your ingredients and start crafting your luxurious lotion bars today!
FAQs about Lotion Bars: 7 Magical Recipes for Soft, Glowing Skin
How long do homemade lotion bars last?
With proper storage, homemade lotion bars can last up to a year. Ensure they’re kept in a cool, dry place to maintain their quality.
Can I use different molds for my lotion bars?
Absolutely! Silicone molds work best for easy removal, but you can use any container you have available for shaping.
What essential oils are safe to use in lotion bars?
Most essential oils are safe for lotion bars, but avoid citrus oils if you’re planning to use them in areas exposed to sunlight.
Can I make lotion bars in bulk?
Yes, making lotion bars in bulk is a great way to have supplies on hand. Just remember to store them properly.
Are lotion bars suitable for sensitive skin?
Typically, yes. However, always do a patch test, especially if you’re using new essential oils or ingredients.
What should I do if my lotion bars are too soft?
If they turn out too soft, try chilling them in the refrigerator. If they’re still soft after cooling, reduce the oil ratio in your next batch.
Can I add color to my lotion bars?
Yes, natural colorants like beet powder or mica can be mixed for visual appeal, but ensure they’re skin-safe.
What’s the best way to apply lotion bars?
Simply rub the bar between your hands or directly on the skin, allowing it to melt slightly and absorb into the skin.
How can I make these bars allergy-friendly?
Swap out specific allergens in the recipe, like using a different oil (i.e., jojoba oil) or opting for vegan wax alternatives.
Is it safe to use lotion bars during summer?
Yes, but keep them stored properly in a cool environment, as higher temperatures can cause them to melt.

Lotion Bars: 7 Magical Recipes for Soft, Glowing Skin
Equipment
- Double Boiler
- Silicone Molds
- Mixing spoon
- Storage Container
Ingredients
Base Ingredients
- 1 cup beeswax use candelilla wax for vegan option
- ½ cup shea butter unrefined for richer texture
- ½ cup coconut oil fractionated coconut oil for lighter texture
Optional Additions
- 10-15 drops essential oils lavender, citrus, or vanilla
- 1 tsp vitamin E oil optional, for added skin nourishment


Instructions
- Gather all ingredients and tools such as a double boiler, spoon, and molds. Measure each ingredient precisely.
- In the double boiler, melt beeswax, shea butter, and coconut oil over medium heat, stirring occasionally until smooth.
- Once fully melted, remove from heat and stir until well combined.
- Add essential oils and optional vitamin E oil. Stir gently to distribute evenly.
- Carefully pour the mixture into silicone molds, leaving space at the top.
- Allow to cool at room temperature for 30–60 minutes or refrigerate for 20–30 minutes.
- Once solid, remove from molds and store in a cool, dry container away from sunlight.