
This post may contain affiliate links. As an Amazon Associate, I earn from qualifying purchases at no extra cost to you.
Table of Contents
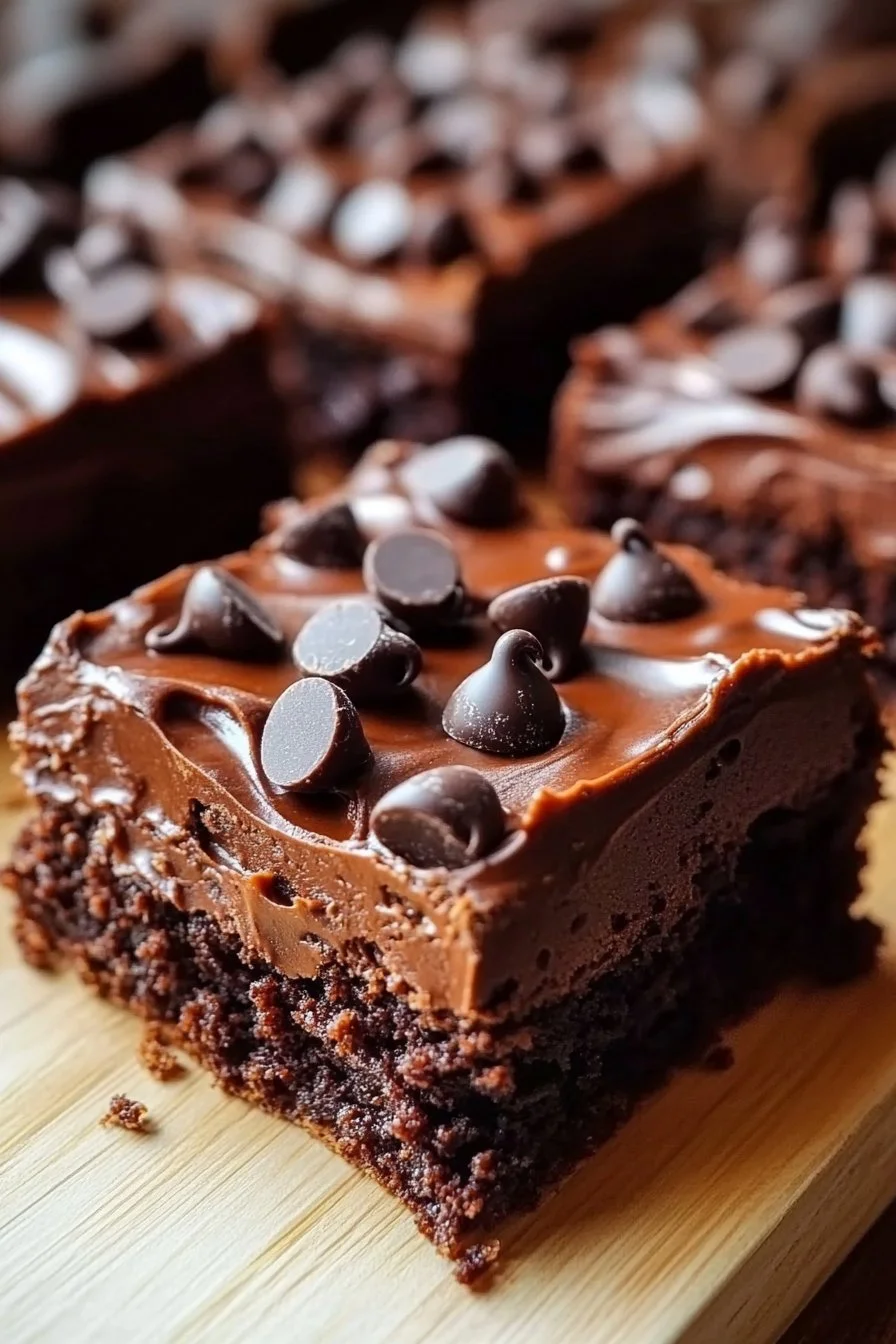
When you think about desserts that are quick, satisfying, and mouth-watering, No-Bake Chocolate Cookie Bars definitely come to mind! These delightful treats are not only easy to whip up, but they also satisfy those chocolate cravings without the fuss of baking. Have you ever had a moment where you just wanted something sweet but also didn’t want to spend hours in the kitchen? If so, you’re in for a real treat.
Imagine sinking your teeth into a bar that’s rich in chocolate, creamy from peanut butter, and perfectly chewy thanks to oats. The best part? No oven is required! No-Bake Chocolate Cookie Bars are simple, making them perfect for beginners and busy folks alike. They bring a unique twist to traditional desserts by offering convenience and flavor, making them a staple in any dessert repertoire.
🍴 Top Kitchen Essentials You'll Love


Key Benefits of No-Bake Chocolate Cookie Bars
Why you’ll love this recipe
- Quick and Easy: With just a few steps, you’ll have perfectly formed bars ready to enjoy!
- No Baking Required: Say goodbye to preheating your oven and waiting for things to bake.
- Satisfyingly Delicious: The combination of chocolate and peanut butter is a classic that everyone loves.
- Customizable: Feel free to modify to match your taste preferences; add different nuts or swap out the peanut butter!
- Healthy Ingredients: With rolled oats, your dessert doesn’t just taste yummy; it also has wholesome components.
- Perfect for Any Occasion: Whether it’s an afternoon snack or a festive treat, these bars fit right in.
What makes it stand out
The No-Bake Chocolate Cookie Bars recipe stands out in its simplicity and versatility. Unlike many desserts, these bars are ready in a fraction of the time and require no special equipment or baking skills. They call for everyday ingredients that you might already have at home.
Think about the joy of personalizing these bars for different seasons or occasions. You could add crushed peppermint for a festive holiday twist or top them with seasonal fruits for a fresh summer snack. Each variation is just as delightful as the last!
Ingredients for No-Bake Chocolate Cookie Bars
Complete ingredient list with measurements
To make these delightful No-Bake Chocolate Cookie Bars, you’ll need the following ingredients:
- 1 cup chocolate chips
- 1/2 cup peanut butter (smooth or crunchy)
- 2 cups rolled oats
- 1/4 cup honey or maple syrup
- 1 teaspoon vanilla extract
- A pinch of salt
Substitutes and alternatives
- Peanut Butter: You can use almond butter or sunflower seed butter for nut-free options.
- Chocolate Chips: Dark chocolate, milk chocolate, or even dairy-free chocolate chips can stand in if needed.
- Oats: Quick oats can be substituted for rolled oats, but the texture might vary.
- Sweeteners: Agave nectar can be a great alternative to honey or maple syrup.
- Add-ins: Consider mixing in nuts, dried fruits, or seeds for extra texture and nutrition.
How to Make No-Bake Chocolate Cookie Bars – Step-by-Step Directions
Step 1: Melt the Chocolate and Peanut Butter
Start by gathering your ingredients. In a saucepan over low heat, combine 1 cup of chocolate chips and 1/2 cup of peanut butter. Stir gently until everything is melted and smooth, which will take about 5 to 7 minutes.
Step 2: Add Sweetness and Flavor
Once your chocolate and peanut butter mixture is silky, remove it from heat. Stir in 1/4 cup of honey (or maple syrup) and 1 teaspoon of vanilla extract. This will add sweetness and a lovely aroma to your bars.
Step 3: Mix in Oats
Next, add 2 cups of rolled oats and a pinch of salt to the chocolate-peanut butter mixture. Stir well until everything is evenly mixed. The oats should absorb some of the chocolatey goodness.
Step 4: Prepare Your Pan
Line an 8×8 inch baking pan with parchment paper for easy removal. This is a crucial step to ensure that your bars come out easily and maintain their shape.
Step 5: Press the Mixture Down
Pour the oat mixture into the lined baking pan. Using a spatula or your hands, press down firmly until the mixture is compact and even across the surface. This step helps the bars hold together when cut.
Step 6: Refrigerate
Place the pan in the refrigerator for about 1 hour. This cooling period allows the mixture to firm up and makes cutting into bars much easier.
Step 7: Cut into Bars
After about an hour, check to see if the bars have set firm enough. Remove them from the pan using the parchment paper and place them on a cutting board. Carefully cut them into squares or rectangles, depending on your preference!
Step 8: Serve and Enjoy
Your delicious No-Bake Chocolate Cookie Bars are now ready to be enjoyed! Serve them at room temperature, or keep them chilled for a refreshingly sweet treat.
Step 9: Optional Toppings
If desired, you can drizzle melted chocolate over the top, sprinkle some sea salt, or even add a few chopped nuts for an appealing presentation.
Step 10: Share the Love
Don’t forget to share your creations with family and friends! These bars are perfect for gatherings, lunchboxes, or quiet nights in.
Serving Suggestions for No-Bake Chocolate Cookie Bars
Best occasions to serve this dish
No-Bake Chocolate Cookie Bars are incredibly versatile, making them ideal for a variety of occasions:
- Family movie nights
- Birthday parties
- Holidays and celebrations
- Afternoon snacks or lunchboxes
- Potlucks and BBQs
What to serve with it
Consider pairing your No-Bake Chocolate Cookie Bars with:
- Milk (dairy or plant-based)
- Coffee or tea
- Ice cream or yogurt
- Whipped cream
- Fresh fruits like strawberries or bananas
- A drizzle of caramel or chocolate sauce
Storing No-Bake Chocolate Cookie Bars Properly
Best storage practices
To keep your bars fresh and delicious, it’s essential to store them properly. If you keep these No-Bake Chocolate Cookie Bars refrigerated, they can last for up to two weeks in an airtight container. For longer storage, you can freeze them.
Reheating and freezing tips
If you want to enjoy them slightly warm or melty:
- Remove from the fridge, let sit for a few minutes, and then microwave for 10–15 seconds.
- If you freeze them, wrap individual bars in plastic wrap and place them in a freezer-safe bag or container. They can last in the freezer for up to three months.
- To avoid sogginess when thawing, let them sit out for a few minutes to regain their texture.
Tips & Tricks for No-Bake Chocolate Cookie Bars
Mistakes to avoid
- Not pressing the mixture: To ensure they hold together, be sure to press your mixture firmly into the pan.
- Using too much heat: Melting the chocolate and peanut butter over high heat can cause it to burn. Always use low heat for better results.
- Rushing the cooling process: Allow ample time in the fridge for better results when cutting the bars.
Extra tips for better results
- Use high-quality chocolate for a richer flavor.
- Experiment with adding spices like cinnamon or nutmeg for a unique twist.
- Keep a close eye on the texture; it should be thick and moldable but not too dry.
Recipe Variations of No-Bake Chocolate Cookie Bars
Creative twists
Feel free to get creative with your No-Bake Chocolate Cookie Bars. Here are a few ideas to consider:
- Nuts and Seeds: Add in some chopped almonds, pecans, or sunflower seeds for added crunch.
- Dried Fruits: Raisins, cranberries, or chopped dates can introduce a chewy, sweet contrast.
- Cocoa Powder: For a more intense chocolatey flavor, try mixing in a tablespoon of cocoa powder into the oat mixture.
- Seasonal Additions: Pumpkin spice for fall or peppermint extract for the winter holidays can make delightful variations.
Dietary adjustments
- Vegan: Substitute honey with agave nectar and use dairy-free chocolate.
- Gluten-Free: Make sure your oats are certified gluten-free.
- Nut-Free: Use sunflower seed butter in place of peanut butter to ensure it’s safe for those with nut allergies.
Conclusion about No-Bake Chocolate Cookie Bars
In conclusion, No-Bake Chocolate Cookie Bars are a fantastic dessert that combines ease, flavor, and convenience. With minimal ingredients and no baking required, you can whip up a batch in no time. Their delightful combination of chocolate and peanut butter creates an indulgence that’s hard to resist.
We encourage you to try this recipe, share it with loved ones, and enjoy every bite of these delightful bars. They’re not just a treat; they’re a way to add a little joy to your day!
FAQs about No-Bake Chocolate Cookie Bars
What if it doesn’t turn out right?
If it doesn’t hold together, it may be due to a lack of pressing or not enough binding ingredients. Try adjusting the peanut butter or honey amounts next time.
Can I prepare it ahead of time?
Absolutely! These bars can be made a few days in advance and stored in the fridge or freezer until you’re ready to enjoy them.
What are the best ingredient substitutions?
Common substitutions include almond butter for peanut butter, agave for honey, and quick oats for rolled oats. All can work well based on personal preferences.
How long can it be stored?
In the fridge, these bars can last for up to two weeks in an airtight container and up to three months in the freezer.
Can I use store-bought dough or crust?
While it’s best to use this homemade mixture, you could get creative with store-bought items, but it may change the outcome of the bars significantly.
Is this recipe kid-friendly?
Yes! Kids will love these delightful bars, and they can even help with mixing and pressing the ingredients together.
Can I make it allergen-free?
Definitely! Swap out the peanut butter for sunflower seed butter or any nut-free alternative to make them safe for those with nut allergies.

No-Bake Chocolate Cookie Bars
Ingredients
Main Ingredients
- 1 cup chocolate chips Use dark, milk, or dairy-free chocolate as preferred.
- ½ cup peanut butter Can use almond butter or sunflower seed butter for nut-free options.
- 2 cups rolled oats Quick oats can also be used, though texture may vary.
- ¼ cup honey or maple syrup Agave nectar is a great alternative.
- 1 teaspoon vanilla extract
- a pinch salt


Instructions
Preparation
- In a saucepan over low heat, combine 1 cup of chocolate chips and 1/2 cup of peanut butter. Stir gently until melted and smooth, approximately 5 to 7 minutes.
- Remove from heat and stir in 1/4 cup of honey (or maple syrup) and 1 teaspoon of vanilla extract.
- Mix in 2 cups of rolled oats and a pinch of salt until well combined.
- Line an 8×8 inch baking pan with parchment paper.
- Pour the oat mixture into the lined pan and press firmly down with a spatula or hands until compact.
- Place the pan in the refrigerator for about 1 hour to firm up.
- After an hour, remove from the refrigerator and use the parchment paper to lift the bars out of the pan. Cut into squares or rectangles.
- Serve at room temperature or chilled, and enjoy!
Optional Toppings
- Consider drizzling melted chocolate over the top, sprinkling sea salt, or adding chopped nuts.