
This post may contain affiliate links. As an Amazon Associate, I earn from qualifying purchases at no extra cost to you.
Table of Contents
🍴 Top Kitchen Essentials You'll Love


Introduction to Oreo Rocky Road Slice
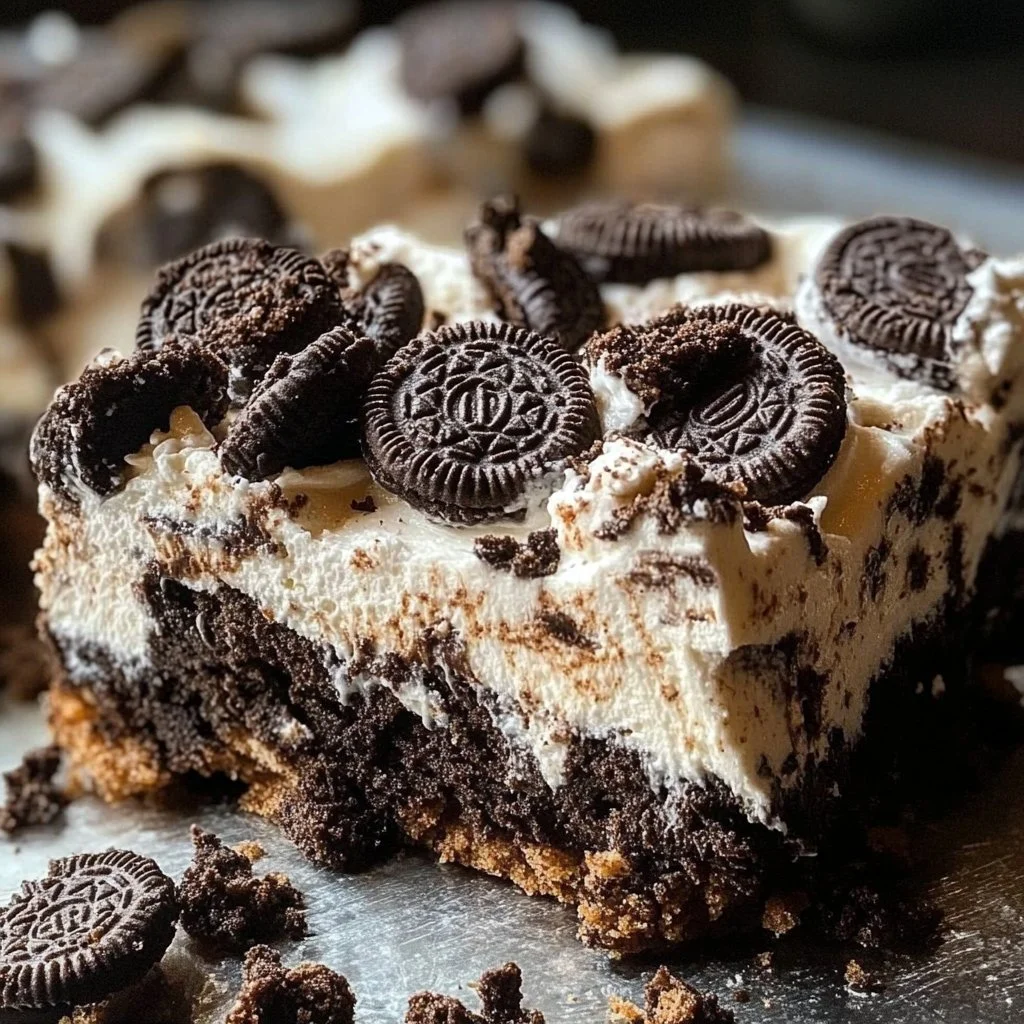
When was the last time you indulged in a dessert that truly satisfied your sweet tooth? If it’s been a while, you need to try the Oreo Rocky Road Slice. This delicious treat combines the creamy, rich flavors of Oreo cookies and marshmallows with the smooth sweetness of white chocolate. It’s a flavor explosion that will remind you of childhood treats but with an adult twist.
Imagine taking a bite of thick, chocolatey goodness, with soft marshmallows and crunchy cookie pieces integrating perfectly. The Oreos provide a unique base that adds a delightful crunch and flavor, while the white chocolate brings everything together in a silky, satisfying way. If you’re in search of a dessert that doesn’t just taste great but is also easy to whip up, look no further!
What truly makes the Oreo Rocky Road Slice special is its versatility. You can serve it at parties, special occasions, or simply as a comforting snack at home. Moreover, with only a few ingredients and minimal preparation, you’ll find that it’s a breeze to make. Let’s dive deeper into the aspects that set this recipe apart and why it deserves a spot in your dessert rotation.
Key Benefits of Oreo Rocky Road Slice
- Easy to Make: With just a few steps, this recipe comes together quickly.
- Rich Flavor: The combination of cookies, chocolate, and marshmallows creates a decadent dessert.
- Versatile Serving Options: Whether it’s a birthday party or a movie night, it’s perfect for any occasion.
- No Baking Required: Other than melting chocolate, this slice doesn’t require cooking.
- Customizable: Add your favorite nuts or swap ingredients based on your taste preferences.
- Great for Sharing: Sliced into squares, it’s easy to share with friends and family.
What Makes It Stand Out
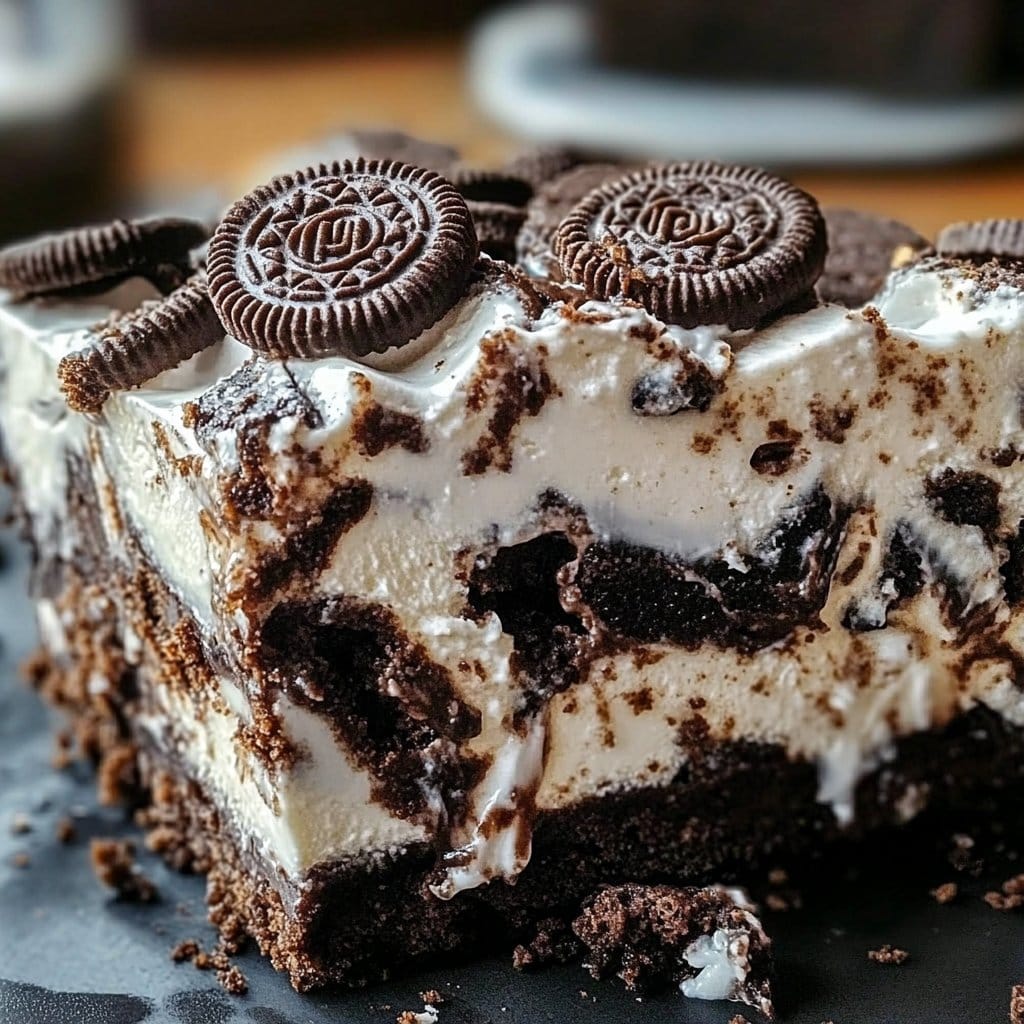
What sets Oreo Rocky Road Slice apart from traditional desserts is its unique blend of ingredients. The mixture of crunchy Oreos and fluffy marshmallows within a white chocolate casing offers a texture contrast that is simply irresistible. You can even customize the recipe by adding your favorite nuts or switching the chocolate types.
This dessert is perfect for gatherings and celebrations. Whether you’re hosting a birthday party or a cozy get-together with friends, the Oreo Rocky Road Slice fits right in. Its colorful appearance and rich flavors are sure to impress guests, making it a standout addition to any dessert table.
Ingredients for Oreo Rocky Road Slice
- 200g Oreo Cookies
- 40g Unsalted Butter (Melted)
- 600g White Chocolate (Roughly Chopped)
- 240g Oreo Cookies (Roughly Chopped)
- 60g Mini White Marshmallows
Substitutes and Alternatives
If you have dietary restrictions or allergies, there are plenty of substitutions for the Oreo Rocky Road Slice. For example, if you need a gluten-free option, use gluten-free Oreos. If you’re dairy-free, consider using dairy-free white chocolate and a vegan butter alternative. Experimenting with different types of chocolate or even using a mix of dark and milk chocolate can also yield great results!
How to Make Oreo Rocky Road Slice – Step-by-Step Directions
Step 1 – Prepare Ingredients
Start by gathering all your ingredients and tools. You’ll need an 8-inch square pan, parchment paper, a food processor, and a microwave-safe bowl. This will help streamline your cooking process.
Step 2 – Cook the Base
Line your square pan with parchment paper, allowing two sides to hang over for easy removal later. Blitz 200g of Oreo cookies in a food processor until fine crumbs form. Combine these with 40g of melted butter, then blitz again until mixed. Pour this crumb mixture into the prepared pan and press it down evenly to create a solid base. Set it aside while you prepare the rocky road topping.
Step 3 – Prepare Rocky Road Mixture
In a large bowl, combine 200g of the roughly chopped Oreos and the mini white marshmallows. This base will give your slice texture and a sweet flavor that balances the rich chocolate.
Step 4 – Melt the White Chocolate
Take your microwave-safe bowl and add the 600g of chopped white chocolate. Microwave it in 30-second bursts, stirring in between until it’s fully melted. Ensure it’s smooth and creamy for the best results.
Step 5 – Combine Melted Chocolate with Oreos and Marshmallows
Pour the melted chocolate over the Oreo and marshmallow mixture. Stir well to ensure everything is coated evenly with the chocolate. This is the moment you witness the magic as all the ingredients come together.
Step 6 – Pour Mixture Over Base
Once fully mixed, pour the rocky road mixture over your Oreo base. Use a spoon or spatula to spread it evenly across the base, ensuring every corner is filled.
Step 7 – Add Toppings
Sprinkle the remaining 40g of chopped Oreos over the top of the slice, adding an extra crunch and decoration. This step is not just for looks but adds to the overall flavor!
Step 8 – Chill to Set
Place your assembled Oreo Rocky Road Slice in the refrigerator for about an hour or until the chocolate has set completely. This step is crucial; patience will lead to a perfectly cohesive slice.
Serving Suggestions for Oreo Rocky Road Slice
Best Occasions to Serve This Dish
The Oreo Rocky Road Slice is extremely versatile. It’s a fantastic dessert option for birthday parties, holiday gatherings, or simply a cozy night in front of the TV. Every occasion becomes sweeter when this slice is around.
What to Serve With It
Pair your Oreo Rocky Road Slice with a scoop of vanilla ice cream or whipped cream for added indulgence. A strong cup of coffee or a creamy hot chocolate complements the dessert beautifully, creating a perfect pairing for a delightful treat.
How to Store Oreo Rocky Road Slice Properly
Best Storage Practices
To keep your Oreo Rocky Road Slice fresh, store it in the refrigerator for up to five days. Make sure to keep it in an airtight container or covered with plastic wrap to prevent drying out. You can also freeze leftovers for longer storage; just wrap slices individually in plastic wrap and place them in a freezer-safe bag.
Reheating and Freezing Tips
If you decide to freeze the Oreo Rocky Road Slice, it’s simple to thaw. Just take it out of the freezer and place it in the refrigerator overnight. You can enjoy it cold or leave it at room temperature for a few minutes before serving for that perfect creamy texture.
Tips & Tricks for Oreo Rocky Road Slice
Mistakes to Avoid
1 – Not Melting Chocolate Properly: Make sure to melt in bursts and stir frequently to avoid burning.
2 – Over-Processing Oreos: Blitz just enough to achieve fine crumbs without turning them into a paste.
3 – Not Letting It Chill Long Enough: Waiting at least an hour for the chocolate to set is essential for a clean cut.
4 – Skipping Toppings: The extra chopped Oreos add great texture and flavor; don’t forget them!
5 – Using Low-Quality Chocolate: Opt for good quality white chocolate for better taste and texture.
Extra Tips for Better Results
Consider adding toppings like crushed nuts or shredded coconut for an additional layer of flavor. You can experiment with different types of chocolate or even drizzles of dark chocolate over the top for a beautiful presentation.
Recipe Variations of Oreo Rocky Road Slice
Creative Twists
1 – Nutty Rocky Road: Add chopped almonds or walnuts for a crunchy twist.
2 – Peanut Butter Rocky Road: Swirl in some peanut butter with the melted chocolate for added richness.
3 – Dried Fruit Rocky Road: Incorporate dried cranberries or cherries for a fruity flavor contrast.
Dietary Adjustments
For a dessert that caters to various dietary needs, opt for dairy-free white chocolate and gluten-free Oreos to create a version that is both vegan and gluten-free. There are many options available now that allow for delicious substitutions.
Conclusion about Oreo Rocky Road Slice
In conclusion, the Oreo Rocky Road Slice offers an exquisite blend of flavors and textures that are perfect for any occasion. With its easy preparation and delightful taste, you’ll find it’s a dessert your friends and family will rave about. Whether you’re making it for a special event or simply to treat yourself, this recipe checks all the boxes. Dive into the world of sweet satisfaction and create your own Oreo Rocky Road Slice today.
FAQs about Oreo Rocky Road Slice
How long can I store Oreo Rocky Road Slice?
You can store the slice in the refrigerator for up to five days, ensuring it’s covered in an airtight container.
Can I make Oreo Rocky Road Slice ahead of time?
Yes, you can prepare it a day or two in advance. Just keep it refrigerated until you’re ready to serve.
Can I freeze Oreo Rocky Road Slice?
Yes, it freezes well! Wrap the slices individually in plastic wrap and store them in a freezer-safe bag for up to three months.
What can I use instead of white chocolate?
You can use dark chocolate or milk chocolate as a substitute. The taste will be different but still delicious.
How do I thaw frozen Oreo Rocky Road Slice?
The best way to thaw it is to place it in the refrigerator overnight or leave it at room temperature for about an hour before serving.
Can I add nuts to the recipe?
Absolutely! Chopped nuts like almonds or walnuts would add a delightful crunch and flavor.
What if I don’t have a food processor?
You can use a zip-lock bag and a rolling pin to crush the Oreos into fine crumbs instead.
Is this recipe suitable for kids?
Yes, it’s easy and fun to make! Just supervise younger kids when melting chocolate.
Can I use regular Oreos instead of any other cookies?
Yes, sticking with classic Oreos gives the best flavor, but you can experiment with other flavors or brands if you like.

Oreo Rocky Road Slice
Ingredients
Base Ingredients
- 200 g Oreo Cookies
- 40 g Unsalted Butter (Melted)
Rocky Road Filling
- 600 g White Chocolate (Roughly Chopped) Ensure high quality for best results.
- 240 g Oreo Cookies (Roughly Chopped)
- 60 g Mini White Marshmallows


Instructions
Preparation
- Gather all your ingredients and tools including an 8-inch square pan, parchment paper, a food processor, and a microwave-safe bowl.
- Line the square pan with parchment paper, allowing two sides to hang over.
Make the Base
- Blitz 200g of Oreo cookies in a food processor until fine crumbs form.
- Combine the crumbs with 40g of melted butter and blitz again until mixed.
- Pour the mixture into the pan and press down evenly to create a solid base.
Prepare Rocky Road Mixture
- In a large bowl, combine 240g of roughly chopped Oreos and 60g of mini white marshmallows.
- Melt 600g of white chocolate in a microwave-safe bowl in 30-second bursts, stirring in between until smooth.
- Pour the melted chocolate over the Oreo and marshmallow mixture and stir well to coat.
Combine and Chill
- Pour the rocky road mixture over the Oreo base and spread evenly.
- Sprinkle the remaining chopped Oreos over the top.
- Chill in the refrigerator for about an hour until set.