
This post may contain affiliate links. As an Amazon Associate, I earn from qualifying purchases at no extra cost to you.
Table of Contents
🍴 Top Kitchen Essentials You'll Love


Introduction to Customizable Candy Hearts
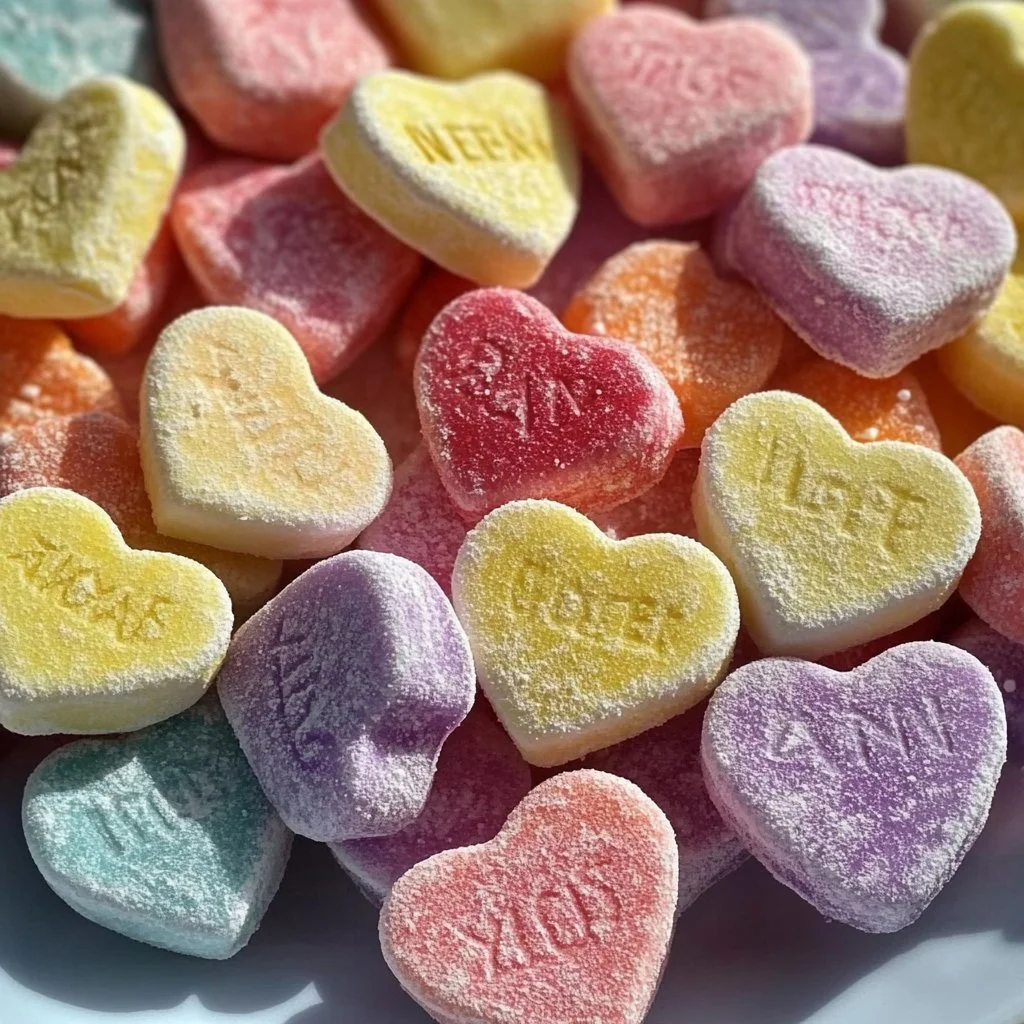
Who doesn’t love a sweet treat that comes with a personal touch? Customizable Candy Hearts are more than just a delightful dessert; they’re heartfelt messages made edible. Perfect for occasions such as Valentine’s Day, anniversaries, or simply to show someone you care, these candy hearts hold the power to convey meaningful messages in a playful way. Have you ever wished you could combine your love for sweets with personal expression? This recipe makes that possible!
The beauty of Customizable Candy Hearts lies in their versatility. With just a few ingredients, you can create a colorful array of charming hearts, each adorned with unique messages. Imagine the joy of handing someone a candy heart that reads “You Make Life Sweet” or “Be Mine.” Whether you are a seasoned baker or a beginner in the kitchen, this easy recipe will guide you through creating your own personalized candies that are sure to impress.
Moreover, what sets this recipe apart is its simplicity and the opportunity for creativity. The base mixture is straightforward to prepare, allowing you to focus on the fun part— decorating your hearts! With the option to use various colors and infinite message possibilities, the only limit is your imagination. So roll up your sleeves and let’s get ready to create some heartwarming treats with Customizable Candy Hearts!
Key Benefits of Customizable Candy Hearts
Why You’ll Love This Recipe
- Flavorful Delight: Enjoy a sweet and slightly airy texture with a touch of meringue.
- Easy to Follow: Simple steps make it perfect for bakers of all skill levels.
- Endless Customization: Create unique messages and colors tailored to your taste.
- Fun Activity: Perfect for kids and adults alike, making it a creative bonding experience.
- Great for Gifting: Ideal for special occasions; they make delightful, personalized gifts.
- Storable Treats: They can be kept for days, allowing you to prepare them in advance.
What Makes It Stand Out
Customizable Candy Hearts shine not only for their ability to be personalized but also for the spirit of creativity they inspire. Unlike store-bought candies, these treats come straight from your kitchen, filled with love and care. The variety in colors, sizes, and messages means that no two creations need to be the same.
Also, they serve as an excellent way to involve family and friends in fun activities. Whether it’s a birthday party, a bridal shower, or a cozy night in, creating Customizable Candy Hearts can be a memorable experience. With each heart handcrafted, you’re not only making candy—you’re making memories!
Ingredients for Customizable Candy Hearts
Complete Ingredient List with Measurements
- 1 cup powdered sugar
- 2 tablespoons meringue powder
- 4 tablespoons water
- Food coloring (variety of colors)
- Messages (edible ink or writing gel)
Substitutes and Alternatives
If you have dietary restrictions or are looking for alternatives, there are a few options. For those who may be allergic to egg products, consider using plant-based meringue powder or an egg replacement. For a gluten-free option, rest assured that the ingredients in Customizable Candy Hearts are naturally gluten-free. You can also swap out the food coloring for natural alternatives like beet juice or spirulina for a more wholesome approach.
How to Make Customizable Candy Hearts – Step-by-Step Directions
Step 1 – Prepare Ingredients
Start by gathering all your ingredients. Ensure that your mixing bowl is clean and that you have your food colors selected for the different heart designs you wish to create.
Step 2 – Cook the Base
In a mixing bowl, combine 1 cup of powdered sugar and 2 tablespoons of meringue powder. This mixture will be the base of your candy hearts. Mix the dry ingredients thoroughly until no lumps remain.
Step 3 – Add Water
Gradually add 4 tablespoons of water to the dry mixture, stirring as you go. You’ll want to obtain a dough-like consistency that is not overly sticky and can hold its shape when molded.
Step 4 – Color Your Mixture
Divide the dough into several smaller bowls based on how many colors you want to utilize. Add food coloring to each bowl and mix until you achieve the desired shade. This is where the fun begins, as you can create vibrant hearts!
Step 5 – Shape the Hearts
Take a small portion of the colored mixture and roll it into a ball. Press it down gently between your palms to form a heart shape. Place each heart on a baking sheet lined with parchment paper, ensuring there’s space between them.
Step 6 – Dry the Hearts
Allow your shaped candy hearts to dry at room temperature for at least 24 hours. This step is crucial to achieve the right texture; they should be hard to the touch but not crumbly.
Step 7 – Add Personalized Messages
Once the hearts are dried, take out your edible ink or writing gel. Write your chosen messages on each heart, being careful to ensure that they are legible and artistic.
Step 8 – Presentation
After decorating, consider packaging your Customizable Candy Hearts as gifts. Use clear cellophane bags tied with colorful ribbons, or arrange them in a decorative box for a polished touch.

Serving Suggestions for Customizable Candy Hearts
Best Occasions to Serve This Dish
Customizable Candy Hearts shine during romantic holidays such as Valentine’s Day or anniversaries. They are equally delightful for celebrations like baby showers or wedding receptions, where you can use them as both decor and playful treats. Let’s not forget birthdays; a candy heart with a personalized message makes for a special party favor!
What to Serve With It
These sweet delights can be served alongside a variety of beverages like hot chocolate, tea, or sparkling lemonade. They also pair well with themed dessert tables during celebrations. Feel free to combine them with cookies or brownies for an enchanting assortment at your next event.
How to Store Customizable Candy Hearts Properly
Best Storage Practices
Store your Customizable Candy Hearts in an airtight container at room temperature. They stay fresh for about 2 weeks, provided they are kept dry and away from humidity. Keep them in a cool, dark area to maintain both their color and flavor.
Reheating and Freezing Tips
While Customizable Candy Hearts don’t typically require reheating, if they’re slightly soft, let them sit out to regain firmness. If you wish to create them ahead of time, you can also freeze them in an airtight container, separated by parchment paper to avoid sticking. Let them thaw at room temperature when you’re ready to use them.
Tips & Tricks for Customizable Candy Hearts
Mistakes to Avoid
- Too Much Water: Adding too much water can make the mixture too wet and difficult to shape. Keep the consistency dough-like.
- Inadequate Drying Time: Don’t rush the drying process. Insufficient drying can lead to sticky and messy hearts.
- Overmixing: Avoid overmixing the dough once you add colors; otherwise, it can lose the airiness you want.
- Not Enough Color: If using liquid food coloring, be cautious as too much can alter the texture.
- Neglecting Cleanliness: Ensure all utensils and surfaces are cleaned to avoid contamination and to achieve even colors.
Extra Tips for Better Results
For a more vibrant look, consider double-coating your messages with edible gel or enhancing colors with pearl dust. Use cookie cutters for perfectly shaped hearts and enhance presentation with decorative packaging, such as gift boxes or themed containers.
Recipe Variations of Customizable Candy Hearts
Creative Twists
- Flavor Infusions: Add a few drops of natural extracts, such as vanilla or almond, to the mixture for an enhanced flavor profile.
- Textured Hearts: Mix in crushed candy or nuts into the dough for a more textured bite while keeping the base intact.
- Themed Colors: For seasonal events, try coloring the hearts in relevant palettes like pastels for Easter or oranges and blacks for Halloween.
Dietary Adjustments
To make these hearts vegan, swap out the meringue powder for an egg-free alternative and use plant-based food colorants. For gluten-free options, stick with traditional powdered sugar and ensure that all other ingredients are verified gluten-free.
Conclusion about Customizable Candy Hearts
In summary, Customizable Candy Hearts are not only a fun, creative outlet but also a heartfelt way to express your feelings. This delightful recipe invites you to connect with loved ones positively, whether you’re sharing them during festivities or tucking them into lunch boxes. With their simple preparation and endless customization, they make for perfect gifts. So why not gather your ingredients, unleash your creativity, and bring a little sweetness into your life with these tasty treats? You’ll be amazed at how a little creativity can go a long way in creating joy!
FAQs about Customizable Candy Hearts
How long can I store Customizable Candy Hearts?
They can be stored in an airtight container at room temperature for up to 2 weeks.
Can I make Customizable Candy Hearts ahead of time?
Absolutely! You can prepare them a week in advance, as they maintain their quality when stored properly.
What can I use instead of meringue powder?
Consider using chickpea water (aquafaba) or other egg alternatives specifically designed for meringue.
How do I prevent the hearts from sticking to the baking sheet?
Using parchment paper on your baking sheet helps ensure they won’t stick.
Is it possible to make Customizable Candy Hearts without food coloring?
Yes! You can use natural coloring agents like beet juice or simply leave them white for a more traditional look.
Can I freeze Customizable Candy Hearts?
Yes! They can be frozen in an airtight container. Just let them thaw at room temperature before serving.
How do I achieve vibrant colors?
To get vibrant colors, use gel food coloring instead of liquid for better saturation without altering the texture.
What should I do if my mixture is too dry?
If the mixture feels dry and crumbly, add a little more water, a teaspoon at a time, to reach the desired consistency.

Irresistible Customizable Candy Hearts
Equipment
- Mixing Bowls
- Spatula
- Measuring cups and spoons
- Parchment Paper
- Edible Ink Pens or Writing Gel
Ingredients
Candy Base
- 1 cup powdered sugar sifted
- 2 tbsp meringue powder
- 4 tbsp water adjust for consistency
- food coloring variety of colors
- edible ink pens or writing gel for personalized messages


Instructions
- Step 1 – Prepare Ingredients: Gather all ingredients and ensure mixing tools are clean and dry. Choose desired food coloring shades.
- Step 2 – Mix the Base: In a bowl, combine powdered sugar and meringue powder until no lumps remain.
- Step 3 – Add Water: Slowly add water while mixing until a soft, moldable dough forms.
- Step 4 – Color the Dough: Divide the dough into small portions and add different colors. Mix gently until even.
- Step 5 – Shape the Hearts: Roll the dough into small balls, flatten slightly, and shape into hearts. Place on a parchment-lined tray.
- Step 6 – Dry: Let hearts dry at room temperature for 24 hours until firm.
- Step 7 – Add Messages: Once dry, write personalized messages using edible ink or writing gel.
- Step 8 – Package & Serve: Present your hearts in clear cellophane bags or boxes with decorative ribbons.