
This post may contain affiliate links. As an Amazon Associate, I earn from qualifying purchases at no extra cost to you.
Table of Contents
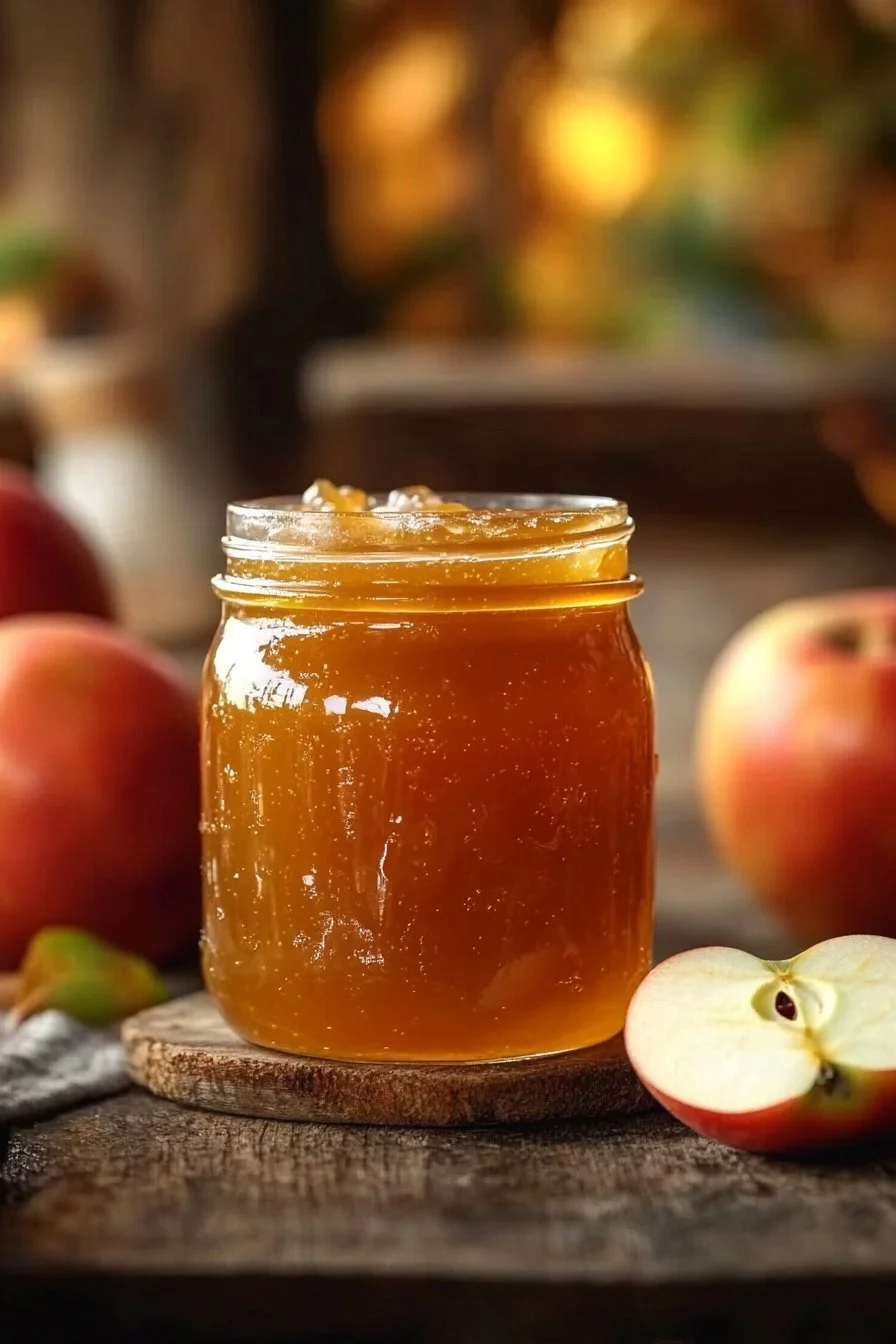
What’s more comforting than a delicious jar of homemade Apple Jam? The sweet aroma of apples simmering with sugar and a hint of lemon can fill your kitchen with warmth and nostalgia. Have you ever wondered how to capture that essence in a jar? Well, I’m thrilled to share with you a simple recipe to create homemade Apple Jam that’s not only easy to make but also utterly delightful.
From spreading it on warm toast during breakfast to enjoying it as a topping on desserts, Apple Jam is versatile and perfect for every occasion. So grab those apples, and let’s jump into this fun cooking adventure!
🍴 Top Kitchen Essentials You'll Love


Key Benefits of Apple Jam
Why You’ll Love This Recipe
Making your own Apple Jam comes with some fantastic perks. Here are just a few reasons you’ll adore this recipe:
- Delicious Flavor: The sweet and tangy taste of apples combined with sugar creates a delightful treat.
- Easy to Make: With just a few simple steps, you’ll have homemade jam in no time.
- Perfect for Gifting: Share your jam with friends and family, and they will love you for it!
- Seasonal Enjoyment: This is an excellent way to take advantage of apple season.
- Family-Friendly: Kids love it! It’s a great activity you can do together.
- Customizable: You can add spices or other fruits for a unique twist.
What Makes It Stand Out
What sets this Apple Jam apart from store-bought varieties? First, it’s all about freshness. When you make your jam at home, you control the ingredients and the flavors, ensuring a unique taste that can’t be replicated. Plus, the satisfaction of creating your food from scratch can’t be beaten.
This recipe also encourages creativity. Want to add a dash of cinnamon or mix in some strawberries? Go for it! The seasonal nature of apples means that you can tweak this recipe throughout the year to incorporate fresh, delightful produce.
Ingredients for Apple Jam
Complete Ingredient List with Measurements
To create a luscious batch of Apple Jam, you will need the following ingredients:
- 4 lbs chopped apples (about 16 cups when peeled, cored, and cut into 1/4 to 1/2-inch dice)
- 4 cups granulated sugar
- 1/2 cup lemon juice
Substitutes and Alternatives
If you have certain dietary needs or preferences, here are some suggested substitutes for the ingredients:
- Apples: Any sweet variety of apple works, like Fuji or Honeycrisp. You can mix different types for added flavor!
- Sugar: Try using coconut sugar or honey for a healthier alternative; however, adjust the quantity since these sweeteners have different sweetness levels.
- Lemon Juice: You can use bottled lemon juice or even apple cider vinegar for a different tang.
How to Make Apple Jam – Step-by-Step Directions
Step 1: Prep Your Workspace and Ingredients
Start with a clean workspace. Gather your tools: a large bowl, a saucepan, stirring spoon, and sterilized glass jars for storing your jam. Make sure you have your apples ready, peeled, cored, and diced!
Step 2: Combine Apples, Sugar, and Lemon Juice
In a large bowl, mix the diced apples, granulated sugar, and lemon juice. Make sure the sugar is evenly distributed. This mixture will macerate the apples and create a syrup. Cover the bowl with plastic wrap and refrigerate for at least 4 hours, or ideally, overnight. This allows the flavors to blend beautifully.
Step 3: Prepare for Cooking
Before you begin cooking, place a small plate in the freezer. This will help you test the gel consistency of your Apple Jam later on.
Step 4: Strain the Macerated Fruit
Once the apples have macerated, remove the mixture from the refrigerator. Strain the fruit to reserve the liquid. Keep the diced apples aside; they will be included back into the jam.
Step 5: Boil the Reserved Liquid
Pour the reserved juice into a saucepan and bring it to a boil over medium heat. Allow it to boil for about 5 minutes, stirring occasionally to avoid burning.
Step 6: Add the Apples to the Boiling Liquid
Once the liquid is bubbly and hot, add the reserved diced apples back into the saucepan. Stir well, and let the mixture cook on medium-high heat for 20-30 minutes. Keep stirring occasionally to prevent the jam from scorching.
Step 7: Test for Gel Consistency
After cooking for about 20 minutes, take your frozen plate out of the freezer. Place a small dollop of the Apple Jam on the plate and return it to the freezer for 1 minute.
Once cooled, run your finger through the jam. If it wrinkles, it’s ready! If it’s still runny, keep cooking and test again in 5-minute intervals until desired consistency is reached.
Step 8: Fill Sterilized Jars
Once you’ve reached the right consistency, remove your jam from heat. Carefully ladle the hot jam into sterilized jars, leaving about 1/4 inch of headspace at the top.
Step 9: Process in a Water Bath Canner
To preserve your jam, process the jars in a water bath canner. Boil the jars for 10 minutes, then let them sit in the hot water for an additional 5 minutes.
Step 10: Cool and Store
Remove the jars from the water bath and let them cool completely on a clean kitchen towel or cooling rack. Once cooled, check seals by pressing down on the center of the lid; it should not pop back. Store in a cool, dark place and enjoy your homemade Apple Jam!
Serving Suggestions for Apple Jam
Best Occasions to Serve This Dish
Apple Jam is not just for breakfast—here are some occasions to enjoy it:
- Breakfast: Spread on toast, pancakes, or waffles.
- Desserts: Use it as a filling for pastries, cakes, or tarts.
- Charcuterie Board: Add it to your cheese platters for a sweet contrast.
- Gifting: Put it in decorative jars for thoughtful gifts.
What to Serve With It
Consider pairing your Apple Jam with:
- Cream cheese: Spread on crackers for a delightful appetizer.
- Pork: A sweet topping for roasts or grilled dishes.
- Ice Cream: Swirl a spoonful over vanilla ice cream for a simple dessert.
- Coffee or Tea: A warm drink pairing that enhances the flavors.
Storing Apple Jam Properly
Best Storage Practices
Once cooled, store your Apple Jam in a cool, dark place, like a pantry. Here are tips for keeping it fresh:
- Refrigerate Once Opened: After opening, store in the fridge where it can last for about 3 weeks.
- Freezing: For long-term storage, Apple Jam can be frozen in airtight containers for up to a year.
Reheating and Freezing Tips
If you need to thaw your jam, move it from the freezer to the fridge overnight. For reheating, use a saucepan over low heat to gently warm it, stirring occasionally.
Tips & Tricks for Apple Jam
Mistakes to Avoid
Here are common pitfalls and how to dodge them:
- Skipping the maceration: Don’t rush this step; it enhances flavor and ensures a good texture.
- Not checking for gel consistency: Always use the plate test for accurate results.
Extra Tips for Better Results
- Use fresh lemons: For the juice, fresh lemons lead to brighter flavors.
- Experiment with flavors: Add cinnamon or nutmeg for a delightful twist!
Recipe Variations of Apple Jam
Creative Twists
Feel free to try these fun variations:
- Spice it up: Add a teaspoon of cinnamon or nutmeg for extra warmth.
- Mix in citrus: Blend with orange or lemon zest for a refreshing twist.
- Combine Fruits: Adding pears or cranberries can create extraordinary flavors.
Dietary Adjustments
Adjust this recipe to suit your dietary restrictions:
- Vegan: This recipe is naturally vegan. Just ensure sugar is vegan-friendly.
- Gluten-Free: No gluten ingredients are involved, so it’s safe for gluten-free diets.
Conclusion about Apple Jam
In conclusion, making your own Apple Jam is not just a delicious endeavor—it’s a rewarding and straightforward process. The fresh flavors and ease of preparation make this recipe stand out for any occasion. So why not give it a try? Capture this sweet treat in a jar and share your creations with loved ones. I hope you enjoy this Apple Jam as much as I do!
FAQs about Apple Jam
What if it doesn’t turn out right?
Don’t worry! If your jam isn’t achieving the right consistency, continue cooking and testing it every few minutes. You can always add more lemon juice or sugar if the flavors need balancing.
Can I prepare it ahead of time?
Absolutely! You can prepare the Apple Jam up to a month in advance. Just ensure proper sealing and storage.
What are the best ingredient substitutions?
Feel free to use alternative sweeteners like honey or maple syrup, and don’t hesitate to mix different varieties of apples for a unique flavor profile.
How long can it be stored?
If processed correctly, sealed jars of Apple Jam can last up to a year in the pantry. Once opened, refrigerate and consume within 3 weeks.
Can I use store-bought dough or crust?
Yes, store-bought crusts are a great time-saver if you prefer convenience. Just follow the package instructions for assembly.
Is this recipe kid-friendly or family-appropriate?
Definitely! Kids will love helping make and enjoy this jam. It’s a safe and healthy option that the whole family will appreciate.
Can I make this recipe allergen-free?
Yes! This recipe is naturally free from common allergens, but make sure to use ingredients that suit your specific dietary restrictions.
Now, you’re all set to create your own homemade Apple Jam! Enjoy every scoop, spread, and morsel. Happy cooking!
Apple Jam
Ingredients
Main Ingredients
- 4 lbs chopped apples Any sweet variety such as Fuji or Honeycrisp.
- 4 cups granulated sugar Can substitute with coconut sugar or honey.
- ½ cup lemon juice Use fresh lemon juice for the best flavor.


Instructions
Preparation
- Start with a clean workspace and gather your tools: a large bowl, a saucepan, stirring spoon, and sterilized glass jars for storing your jam.
- Ensure your apples are peeled, cored, and diced.
Maceration
- In a large bowl, mix the diced apples, granulated sugar, and lemon juice. Cover with plastic wrap and refrigerate for at least 4 hours, preferably overnight.
Cooking
- Remove the mixture from the refrigerator and strain the fruit to reserve the liquid.
- Pour the reserved juice into a saucepan and bring it to a boil over medium heat for about 5 minutes.
- Add the reserved diced apples back into the saucepan and cook on medium-high heat for 20-30 minutes, stirring occasionally.
Testing and Filling
- Test the gel consistency using a cold plate. If the jam wrinkles when tested, it’s ready.
- Ladle the hot jam into sterilized jars, leaving 1/4 inch of headspace.
- Process the jars in a water bath canner for 10 minutes.
Storage
- Allow jars to cool completely, checking the seals before storing in a cool, dark place.