
This post may contain affiliate links. As an Amazon Associate, I earn from qualifying purchases at no extra cost to you.
Table of Contents
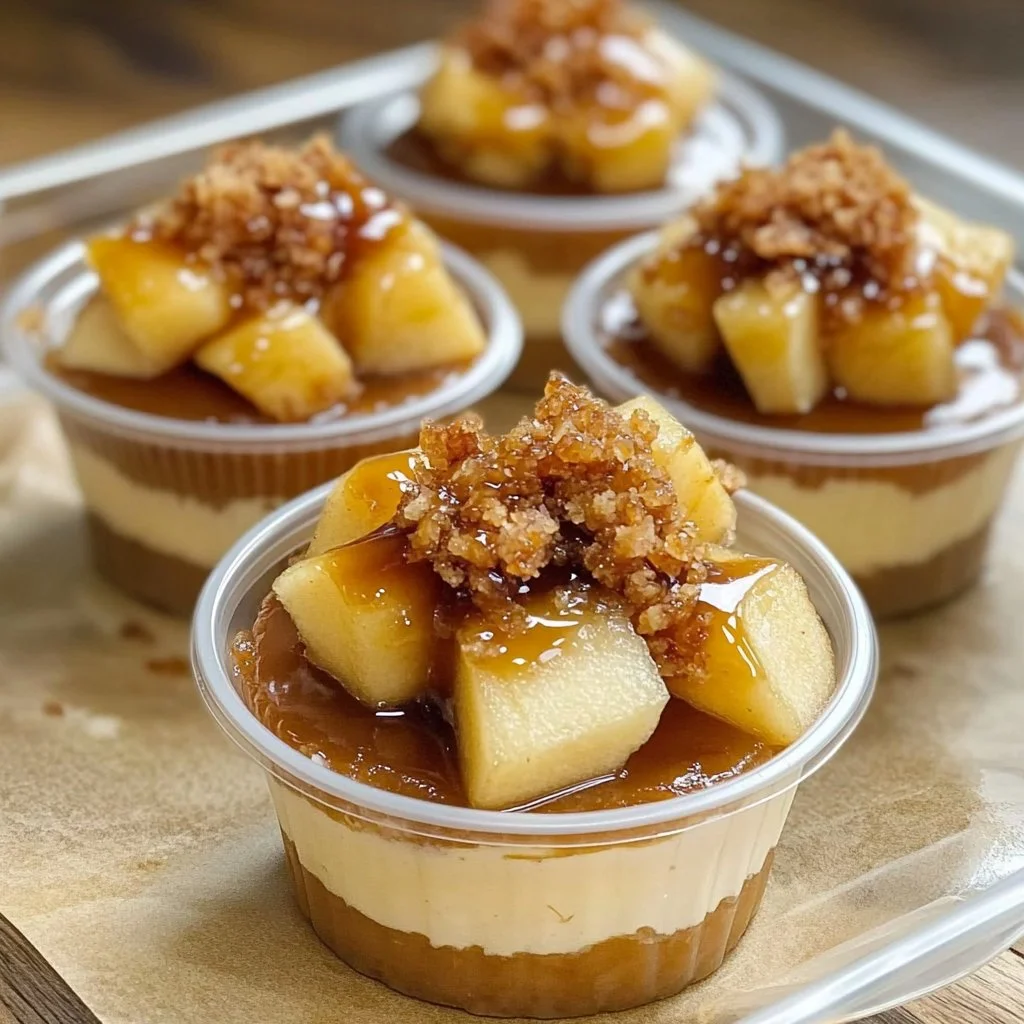
Imagine a dessert that combines the warm, delightful flavors of caramel and apples, all nestled within a cozy cup of whipped cream. Caramel Apple Dessert Cups are the perfect treat for any occasion, and they bring together the taste of fall in a comforting, indulgent way. The recipe is simple enough for beginners and pleasing enough to impress guests at dinner parties.
Have you ever craved something sweet but wanted it to feel just a bit special? These dessert cups strike that perfect balance! They are not only delicious but also a feast for the eyes, making them the ideal choice for gatherings or cozy nights at home. There’s something about the creamy texture of whipped cream paired with the caramelized apples that just feels right.
What makes Caramel Apple Dessert Cups unique is their ability to effortlessly blend familiarity and surprise. While they draw on the classic flavors of a caramel apple, they are served in a way that is both modern and practical. Don’t you want to impress your friends and family with a dessert that is both engaging and delightful? Join me on this culinary journey as we dive deeper into this sweet masterpiece.
🍴 Top Kitchen Essentials You'll Love


Key Benefits of Caramel Apple Dessert Cups
Why You’ll Love This Recipe
- Indulgent Flavor: The combination of caramel, apples, and whipped cream creates a mouthwatering experience.
- Easy to Make: With just a few simple steps, you can whip up these delightful cups in no time.
- Versatile Serving: Perfect for gatherings, holidays, or just a cozy night in with loved ones.
- Customizable: You can easily adapt the recipe with various toppings and flavors to suit your preference.
- Attractive Presentation: The layered look makes them visually appealing and a great conversation starter.
What Makes It Stand Out
Caramel Apple Dessert Cups are not just your standard dessert; they are a unique twist on the classic caramel apple that many of us remember from our childhood. Instead of having to bite into an awkwardly shaped apple, the dessert cups offer a refined take that allows each layer to be savored.
One of the remarkable features of this recipe is its customization ability. You can easily swap out ingredients or add personal touches, making this dessert uniquely yours. Whether it’s a drizzle of chocolate or a sprinkle of nuts, the possibilities are endless. These cups are also fantastic for serving at various occasions, from casual family dinners to festive holiday festivities.
Ingredients for Caramel Apple Dessert Cups
Complete Ingredient List with Measurements
To create your own Caramel Apple Dessert Cups, you will need the following ingredients:
- 3 cups peeled and chopped apples
- 1/2 cup brown sugar
- 1/2 teaspoon ground cinnamon
- 1 tablespoon butter
- 4 cups whipped cream
- 1/2 cup caramel sauce
These ingredients blend beautifully to create an indulgent dessert that everyone will love.
Substitutes and Alternatives
If you have dietary restrictions or simply want to make swaps, there are plenty of alternatives to consider. For those seeking to reduce sugar, you might use a sugar substitute or opt for unsweetened applesauce when cooking the apples.
For a dairy-free option, consider using coconut whipped cream instead of traditional whipped cream. You can also replace butter with coconut oil, and ensure the caramel sauce is dairy-free.
How to Make Caramel Apple Dessert Cups – Step-by-Step Directions
Step 1 – Prepare Ingredients
Start by gathering all your ingredients and equipment. Peel and chop your apples into small pieces, and set them aside. Having everything ready will streamline the process.
Step 2 – Cook the Base
In a skillet, melt the butter over medium heat. Once it’s melted, add your chopped apples, brown sugar, and ground cinnamon. Stir occasionally for about 8-10 minutes or until the apples are tender and nicely caramelized.
Step 3 – Cool the Apple Mixture
Remove the skillet from heat and allow the caramelized apples to cool slightly. This step is important to avoid melting your whipped cream when layering.
Step 4 – Whip the Cream
If you’re making homemade whipped cream, combine heavy cream with a bit of sugar and vanilla in a mixing bowl. Whip until stiff peaks form. If you’re using store-bought, simply grab your favorite brand!
Step 5 – Start Layering
Once the apples are cooled, layer the caramelized apples in your dessert cups as the base layer.
Step 6 – Add Whipped Cream
Spoon a generous layer of whipped cream over the caramelized apples. The fluffy cream adds a light contrast to the sweetness of the apples.
Step 7 – Repeat the Layers
Repeat the layering process by adding more caramelized apples and then whipped cream until your cups are filled to the top.
Step 8 – Drizzle with Caramel Sauce
Finally, bring out that delicious caramel sauce, and drizzle it generously over each cup. This will add visual appeal and an extra sweet touch.
Step 9 – Refrigerate
Chill your Caramel Apple Dessert Cups in the fridge for at least 30 minutes. This helps the flavors meld and makes the dessert even more refreshing.
Step 10 – Serve and Enjoy
Your Caramel Apple Dessert Cups are now ready to be served! Garnish with a sprinkle of cinnamon if you wish, and enjoy the compliments.
Serving Suggestions for Caramel Apple Dessert Cups
Best Occasions to Serve This Dish
These delightful cups are perfect for various occasions. Imagine serving them at a fall gathering, where the cozy flavors resonate with the season. They also shine during Thanksgiving celebrations or as a sweet finish to a family dinner.
You can also bring them to potlucks or picnic gatherings, where the beautiful presentation and delicious flavor are sure to captivate everyone.
What to Serve With It
When considering what to serve alongside these dessert cups, think about:
- Warm Apple Cider: A perfect beverage that complements the apple flavor.
- Vanilla Ice Cream: For an extra indulgent touch, serve alongside a scoop of vanilla ice cream.
- Cow’s Milk or Nut Milk: A refreshing drink that pairs perfectly with the sweetness of the dessert.
How to Store Caramel Apple Dessert Cups Properly
Best Storage Practices
If you have leftovers or want to make these ahead of time, store the cups in the refrigerator. Cover them with plastic wrap or transfer them to an airtight container. They are best enjoyed within three days for maximum freshness, but they can last up to a week.
Reheating and Freezing Tips
While these dessert cups are best enjoyed chilled, you can reheat the apple mixture if desired. Simply warm it in a skillet before layering, and then reassemble with whipped cream. However, freezing the assembled cups isn’t recommended, as the whipped cream can lose texture.
Tips & Tricks for Caramel Apple Dessert Cups
Mistakes to Avoid
- Overcooking the Apples: Be careful not to overcook your apples; they should be tender but not mushy.
- Not Chilling: Failing to chill the dessert can result in a less enjoyable texture.
- Too Much Caramel Sauce: While delicious, excessive caramel can make the cups overly sweet and messy.
- Using Warm Whipped Cream: Make sure your whipped cream is cold for a light texture.
- Skipping the Cinnamon: Cinnamon adds warmth and depth; don’t skip it!
Extra Tips for Better Results
For a delightful twist, consider adding a splash of vanilla extract to your whipped cream. It enhances the flavor wonderfully. Additionally, to elevate the presentation, use clear cups to showcase the beautiful layers of this dessert.
Recipe Variations of Caramel Apple Dessert Cups
Creative Twists
- Nutty Delight: Add crushed nuts, like pecans or walnuts, between layers for added crunch.
- Chocolate Drizzle: Instead of caramel sauce, use a chocolate drizzle for a twist.
- Spiced Rum: For adults, mix a splash of spiced rum with your apples while cooking for a unique flavor experience.
- Different Fruits: Incorporate pears or berries along with apples for a mixed fruit dessert.
Dietary Adjustments
For a vegan rendition, swap dairy whipped cream with coconut whipped cream and use a vegan caramel sauce. Gluten-free options can be achieved by ensuring all ingredients are certified gluten-free.
Conclusion about Caramel Apple Dessert Cups
Caramel Apple Dessert Cups are a delightful combination of flavors that not only capture the essence of fall but are also incredibly easy to make. Their unique presentation adds an element of sophistication that is sure to impress your guests. Whether you’re hosting a special occasion or simply want to treat yourself, these dessert cups are a winning choice.
With simple ingredients and straightforward steps, you’ll find yourself making Caramel Apple Dessert Cups time and time again. So why wait? Gather your ingredients, get cooking, and enjoy this sweet treat that truly speaks comfort and joy.
FAQs about Caramel Apple Dessert Cups
Can I prepare it ahead of time?
Yes! You can prepare the caramelized apples and whip the cream in advance, then assemble right before serving.
Can I freeze it?
It’s not recommended to freeze the assembled cups, as the whipped cream may lose its texture.
How long does it last?
They can last in the refrigerator for up to a week, but they’re best within three days.
What are the best substitutions?
You can use sugar substitutes for the brown sugar and non-dairy cream for a vegan option.
Is this recipe family-friendly?
Absolutely! Kids and adults alike will enjoy these creamy, sweet dessert cups.
How can I make it gluten-free?
Ensure all ingredients, including caramel, are gluten-free.
What toppings work well?
Consider using granola, extra caramel drizzle, or chopped nuts as toppings.
Can I make it without caramel sauce?
You could omit the caramel sauce and serve the cups with a fruit sauce or additional whipped cream instead.
What’s a good drink pairing?
Apple cider or warm spiced tea pairs well with these dessert cups.
Are these cups customizable?
Definitely! You can customize the fruits and toppings as per your preferences.

Caramel Apple Dessert Cups
Ingredients
Apple Mixture
- 3 cups peeled and chopped apples Choose your favorite variety of apple
- ½ cup brown sugar Packed
- ½ teaspoon ground cinnamon
- 1 tablespoon butter Can substitute with coconut oil for a dairy-free option
Whipped Cream and Assembly
- 4 cups whipped cream Use homemade or store-bought
- ½ cup caramel sauce Dairy-free options available


Instructions
Preparation
- Start by gathering all your ingredients and equipment.
- Peel and chop the apples into small pieces, and set them aside.
Cooking the Base
- In a skillet, melt the butter over medium heat.
- Add the chopped apples, brown sugar, and ground cinnamon. Stir occasionally for about 8-10 minutes or until the apples are tender and caramelized.
Cooling
- Remove the skillet from heat and allow the caramelized apples to cool slightly.
Whipping the Cream
- If you’re making homemade whipped cream, combine heavy cream with a bit of sugar and vanilla in a mixing bowl. Whip until stiff peaks form.
Layering
- Layer the caramelized apples in your dessert cups as the base layer.
- Spoon a generous layer of whipped cream over the caramelized apples.
- Repeat the layering process until your cups are filled to the top.
Final Touches
- Drizzle caramel sauce over each cup.
- Chill in the fridge for at least 30 minutes.
Serve
- Garnish with a sprinkle of cinnamon if desired, and enjoy.