
This post may contain affiliate links. As an Amazon Associate, I earn from qualifying purchases at no extra cost to you.
Table of Contents
🍴 Top Kitchen Essentials You'll Love


Introduction to DIY Ice Cream Bar
Who doesn’t love ice cream on a hot day? There’s something truly magical about the creamy texture and the endless varieties of flavors that can make anyone’s day better. With a DIY Ice Cream Bar, you can elevate this favorite treat into a fun, interactive experience for family and friends. Imagine guests of all ages excitedly scooping their favorite flavors, drizzling syrup, and sprinkling toppings like there’s no tomorrow. Doesn’t that sound delightful?
What makes this recipe special is how adaptable it is for different occasions. Whether you’re hosting a birthday party, a summer barbecue, or a casual get-together, a DIY Ice Cream Bar is perfect for any festivity. It encourages creativity and individual expression while satisfying diverse tastes. Plus, it’s easy to set up and requires minimal cooking, making it an ideal choice for those who want to save time but still impress their guests.
Picture your loved ones gathering around a beautifully arranged table, indulging in their personalized ice cream creations. Not only is the DIY Ice Cream Bar a visual treat, but it also serves as a delicious conversation starter that will leave everyone reminiscing about sweet moments long after the last scoop has been savored. It’s truly a delightful way to celebrate togetherness and summer vibes.
Key Benefits of DIY Ice Cream Bar
Why You’ll Love This Recipe
- Versatile Flavors: Pick from a variety of ice cream flavors to suit everyone’s tastes.
- Interactive Fun: Guests create their own ice cream sundaes, adding a personalized touch.
- Quick and Easy: Minimal prep work makes this a hassle-free option for occasions.
- Limitless Toppings: From sprinkles to fruits, the options are endless.
- Family-Friendly: Easy enough for kids to join in on the fun, creating memories.
- Seasonal Appeal: Perfect for summer gatherings, holidays, or any time of year.
What Makes It Stand Out
The DIY Ice Cream Bar stands out for its originality, putting the power in the hands of your guests. Instead of serving pre-made sundaes, you allow everyone to customize their own sweet treat. This not only enhances the fun but also caters to different dietary preferences and cravings.
Additionally, the creativity involved in building a dessert is what makes the DIY Ice Cream Bar an unforgettable experience. It’s a chance to mix and match flavors and textures, creating combinations that might surprise even the pickiest eaters. Consider it an ice cream adventure where each creation reflects a personal touch.
Ingredients for DIY Ice Cream Bar
Complete Ingredient List with Measurements
- Ice Cream (Various Flavors)
- Vanilla, Chocolate, Strawberry, Mint Chocolate Chip, Cookie Dough, or any favorites.
- Toppings
- Sprinkles (chocolate, rainbow)
- Chocolate chips (mini and regular)
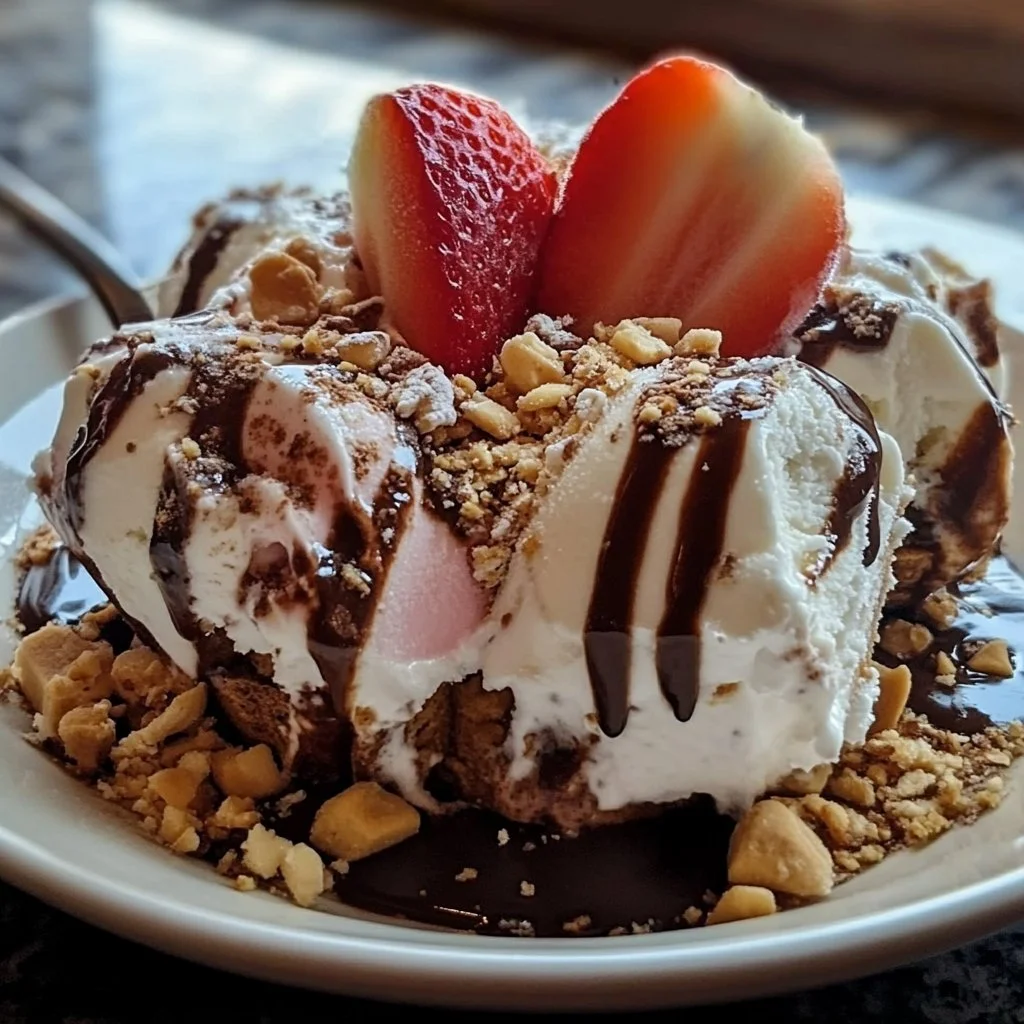
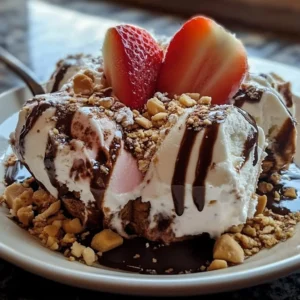
- Nuts (chopped almonds, walnuts, peanuts)
- Fresh fruit (sliced bananas, strawberries, blueberries)
- Whipped cream
- Syrups (chocolate, caramel, strawberry)
- Bowls and Spoons
- Small bowls for serving
- Spoons for scooping
Substitutes and Alternatives
If any of your guests have allergies or dietary restrictions, don’t worry! You can easily swap out ingredients. For instance, if someone is lactose intolerant, consider using dairy-free ice cream options. There are plenty of plant-based ice creams made from almond, coconut, or oat milk.
For those avoiding sugar, look for sugar-free ice cream options or opt for fruit-based sorbets. Also, for topping substitutions, try using coconut whipped cream instead of regular whipped cream for a vegan option. Ensuring everyone is accommodated makes your DIY Ice Cream Bar even more special.
How to Make DIY Ice Cream Bar – Step-by-Step Directions
Step 1 – Prepare Ingredients
Start by selecting a suitable table or countertop space. Lay out all the necessary items, including bowls for ice cream and toppings. The goal here is to ensure everything is easily accessible to your guests.
Step 2 – Set Up the Ice Cream Station
Scoop your desired ice cream flavors into separate bowls. Consider using a mixture of popular flavors and unique ones to cater to all tastes. By having a variety of options, you entice your guests to try something new.
Step 3 – Arrange Toppings
Next, arrange toppings in individual bowls, each labeled for clarity. This organization creates an aesthetically pleasing display and makes it easy for guests to see all their options.
Step 4 – Serve Ice Cream
Invite your guests to start scooping their favorite ice cream into their bowls. Encourage them to try multiple flavors for a truly varied experience. The joy of combining various textures and tastes awaits!
Step 5 – Add Toppings
Now it’s time for the fun part! Let guests get creative by adding their choice of toppings. From sprinkles to chocolate sauce, the combination possibilities are endless. Encourage them to go wild and build the sundae of their dreams!
Step 6 – Serve and Enjoy
Once everyone has crafted their perfect treat, serve the personalized ice cream creations. Gather around a table to enjoy the treats together, sharing and tasting each other’s sundae masterpieces. It is a party in a bowl!
Serving Suggestions for DIY Ice Cream Bar
Best Occasions to Serve This Dish
A DIY Ice Cream Bar is perfect for birthdays, summer gatherings, or casual family nights. It thrives on festive occasions, where laughter and sharing are encouraged. Impress your guests at a cookout or create a fun activity for kids at a birthday party. The casual setup enhances the atmosphere, making it a memorable time for everyone.
What to Serve With It
Consider complementing your DIY Ice Cream Bar with light snacks or drinks. Fresh fruit platters, cookies, and brownies serve as excellent sides. On the drink front, you can offer soda, lemonade, or iced tea, perfect for cooling off.
How to Store DIY Ice Cream Bar Properly
Best Storage Practices
For items not consumed immediately, proper storage is essential. Keep leftover ice cream in the freezer, ensuring the lid is tight to prevent ice crystals from forming. Store any remaining toppings in airtight containers to maintain their freshness.
Reheating and Freezing Tips
If you added some non-dairy toppings, like cookies or fresh fruit, those can easily be stored in the fridge. Just remember: ice cream, once melted, should be refrozen cautiously. Avoid refreezing ice cream once it has been melted completely, as this can alter the texture.
Tips & Tricks for DIY Ice Cream Bar
Mistakes to Avoid
1 – Overcomplicating the Setup
Keep it simple! Too many flavors or toppings can overwhelm guests. Choose a few good options that balance tradition and creativity.
2 – Using Melty Ice Cream
Make sure your ice cream is slightly softened before serving. This helps with scooping but avoid letting it sit out too long to prevent melting.
3 – Neglecting Dietary Restrictions
Always check with guests beforehand for allergies. Have at least one dairy-free and one nut-free option available to accommodate everyone.
4 – Forgetfulness About Serving Utensils
Ensure you have enough scoops and spoons available. Running out can dampen the fun!
5 – Keeping Everything Too Close Together
Allow enough space between bowls to avoid crowding. This also helps create a visually appealing display.
Extra Tips for Better Results
Encourage guests to try new flavor combinations, like strawberry ice cream with chocolate chips or mint chocolate with fresh fruit. To make it visually appealing, consider using clear bowls for toppings to display the vibrant colors.
Recipe Variations of DIY Ice Cream Bar
Creative Twists
1 – Themed Ice Cream Bars
Create a theme—like “Tropical Paradise” with coconut, pineapple, and mango flavors and toppings like shredded coconut and tropical fruits.
2 – Savory and Sweet Combinations
Offer unconventional toppings like bacon bits or chili flakes for those adventurous enough to try something unique.
3 – Ice Cream Sandwiches
Instead of bowls, provide cookies for guests to create their own ice cream sandwiches. It’s a fun twist and a totally different experience!
Dietary Adjustments
For a vegan version, use plant-based ice creams and substitute regular whipped cream with coconut-based cream. If gluten is a concern, ensure that all toppings and cones are certified gluten-free.
Conclusion about DIY Ice Cream Bar
The DIY Ice Cream Bar is more than just dessert; it’s an interactive experience that fosters creativity and delight. Everyone gets the chance to craft their own tailored treats, making it suitable for any occasion, from casual family nights to elaborate celebrations. With minimal effort and a touch of fun, you can create lasting memories as guests bond over their personalized creations.
Here’s to sweet delight! The next time you’re looking to host something special, consider this easy, delicious recipe. Your guests will surely leave with smiles on their faces, a little bit of ice cream on their cheeks, and stories about their unique sundae combinations. It’s truly a recipe for joy that everyone will cherish.
FAQs about DIY Ice Cream Bar
How long can I store ice cream after making a DIY Ice Cream Bar?
Homemade ice cream can be stored in the freezer for up to two weeks if sealed properly.
Can I prepare the toppings ahead of time?
Yes! You can prepare and store toppings a day in advance, ensuring everything is ready when guests arrive.
What are the best flavors for a DIY Ice Cream Bar?
Classic flavors like vanilla, chocolate, and strawberry work well. Consider adding one or two unique flavors for variety!
How do I avoid ice cream from getting too hard in the freezer?
Store ice cream in an airtight container and consider placing a piece of wax paper between the surface of the ice cream and the lid to help maintain texture.
Can I make a DIY Ice Cream Bar indoors?
Absolutely! Just ensure you have enough space for people to gather and enjoy without feeling cramped.
What’s the best way to serve toppings?
Use small bowls for each topping and set them up in an organized fashion, labeling them if necessary.
Is it possible to add alcohol to the ice cream?
Yes, adding a splash of liqueur can create a fun flavor. Just be mindful of the alcohol content.
How do I make a vegan DIY Ice Cream Bar?
Simply opt for vegan ice creams and ensure any toppings you provide are also plant-based.
What if it’s too hot for the ice cream?
If it’s a particularly hot day, keep the ice cream in a cooler or periodically return it to the freezer to maintain its texture.
Are there alternatives for toppings for allergenic guests?
Sure! Consider offering safe options like fresh fruits, carob chips instead of chocolate, and gluten-free cones.
DIY Ice Cream Bar
Ingredients
Ice Cream Flavors
- 1 quart Ice Cream (Various Flavors – Vanilla, Chocolate, Strawberry, Mint Chocolate Chip, Cookie Dough) Choose a mix of popular and unique flavors.
Toppings
- 1 cup Sprinkles (chocolate, rainbow)
- 1 cup Chocolate chips (mini and regular)
- 1 cup Nuts (chopped almonds, walnuts, peanuts)
- 2 cups Fresh fruit (sliced bananas, strawberries, blueberries) Choose a variety of fresh fruits.
- 1 cup Whipped cream
- 1 cup Syrups (chocolate, caramel, strawberry) Provide a selection of flavored syrups.
Serving Supplies
- 10 pieces Small bowls for serving For individual portioning.
- 10 pieces Spoons for scooping Ensure enough spoons for guests.


Instructions
Preparation
- Start by selecting a suitable table or countertop space to lay out all the necessary items, including bowls for ice cream and toppings.
Set Up the Ice Cream Station
- Scoop your desired ice cream flavors into separate bowls.
- Have a mixture of popular and unique flavors to cater to all tastes.
Arrange Toppings
- Arrange toppings in individual bowls, each labeled for clarity.
Serve Ice Cream
- Invite guests to start scooping their favorite ice cream into their bowls.
Add Toppings
- Let guests get creative by adding their choice of toppings.
Serve and Enjoy
- Once everyone has crafted their perfect treat, serve the personalized ice cream creations and enjoy together.