
This post may contain affiliate links. As an Amazon Associate, I earn from qualifying purchases at no extra cost to you.
Table of Contents
🍴 Top Kitchen Essentials You'll Love


Introduction to Pastel Candy Christmas Tree
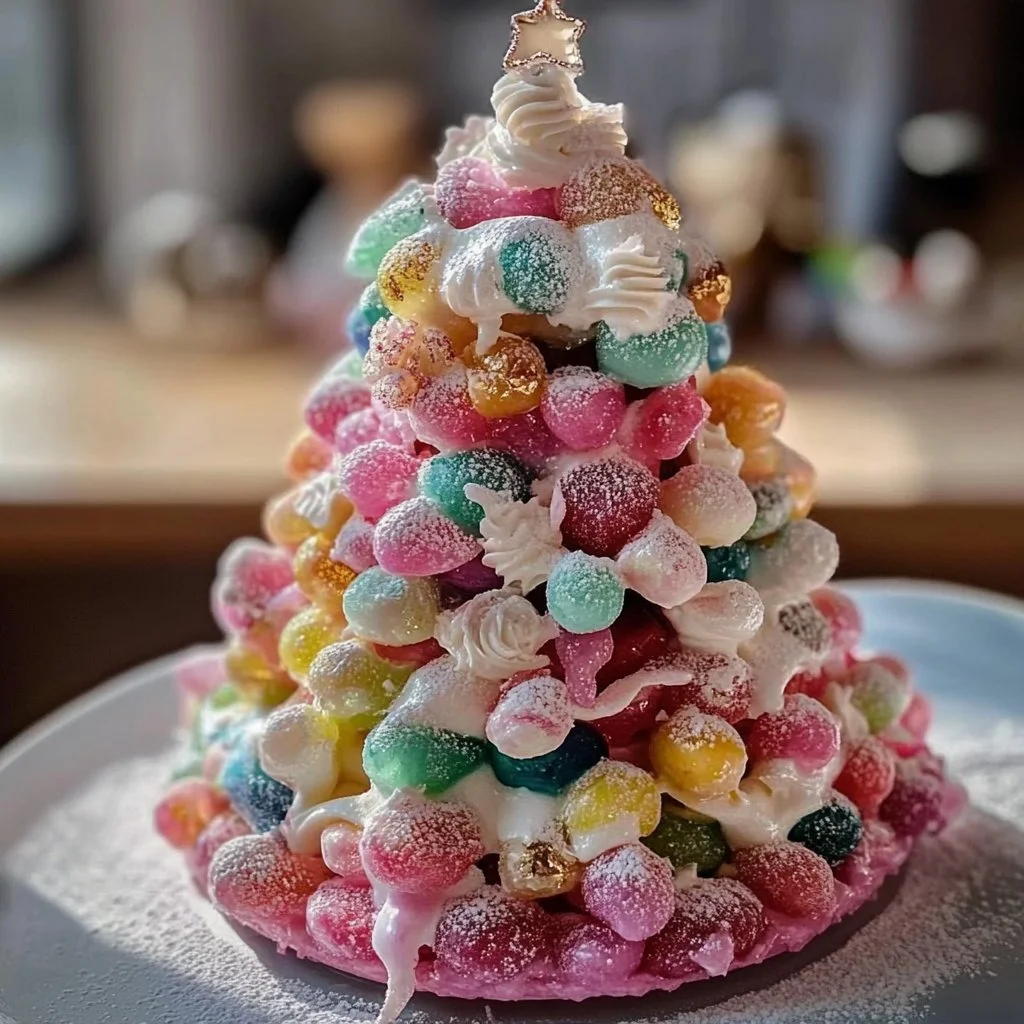
Have you ever wanted to create a festive centerpiece that delights both the eyes and the taste buds? The Pastel Candy Christmas Tree is not just a treat; it’s an edible work of art! This whimsical tree is perfect for the holiday season, bringing joy and a sweet spirit to any gathering. Imagine the smiles on your friends and family as they marvel at this colorful creation, made entirely of delicious candies and a simple sugar cone base!
What makes the Pastel Candy Christmas Tree truly special is its ease of preparation. Kids can even join in on the fun, making it a fantastic bonding activity during the holidays. The process is simple: you cover a sugar cone in frosting and stick on an array of vibrant pastel candies. The result? A charming tree that not only looks good but tastes even better!
This delightful tree is not just a feast for the eyes but also versatile. You can customize it to mix and match with your preferred candies, allowing you to put your unique spin on this festive treat. Whether displayed at a holiday dinner, a kids’ party, or simply enjoyed at home, the Pastel Candy Christmas Tree will elevate any occasion with its fun and festive flair!
Key Benefits of Pastel Candy Christmas Tree
Why You’ll Love This Recipe
- Simple Preparation: Even beginners can easily assemble this festive treat.
- Family-Friendly Fun: Ideal for kids and adults to create together, fostering creativity and teamwork.
- Customizable: Use your favorite pastel candies to suit your taste preference.
- Visually Stunning: This candy tree makes for a beautiful centerpiece at any holiday gathering.
- Delicious Treat: The mix of flavors from various candies creates a delightful sweet experience.
- Versatile: Ideal for Christmas, New Year’s, or any festive occasion throughout the winter.
What Makes It Stand Out
The Pastel Candy Christmas Tree stands out due to its unique blend of visual appeal and deliciousness. Unlike traditional holiday treats, this candy tree captures the essence of creativity while providing a tasty reward at the end. Each candy can represent different colors or themes, making it versatile for various celebrations.
Moreover, this recipe allows for personalization. You can incorporate other favorite candies or decorations, such as mini marshmallows or edible glitter. No two trees need to look the same, making every creation memorable and distinct, perfect for family traditions.
Ingredients for Pastel Candy Christmas Tree
Complete Ingredient List with Measurements
- Pastel candies (like M&Ms or Skittles): To cover the cone.
- Sugar cones: 1 for the tree base.
- Frosting: Around 1 cup for adhering the candies.
- Edible glitter or sprinkles: For decoration, optional.
- Optional: Mini marshmallows or other candies for additional decoration.
Substitutes and Alternatives
If you’re allergic to nuts, look for pastel candies that are specifically marked as nut-free. You can also use dairy-free frosting to accommodate those with dairy allergies. For a gluten-free option, ensure the candies and frosting you choose are certified gluten-free. The beauty of this Pastel Candy Christmas Tree recipe is how easily it adapts to various dietary needs!
How to Make Pastel Candy Christmas Tree – Step-by-Step Directions
Step 1 – Prepare Ingredients
Start by gathering all your ingredients. Make sure your workspace is tidy and that you have plenty of room to build your tree. Having everything prepped allows for a smoother assembly process.
Step 2 – Cook the Base
Take your sugar cone and place it upright on a serving platter or a piece of sturdy cardboard. This cone serves as the base for your Pastel Candy Christmas Tree.
Step 3 – Frosting the Cone
Using a spatula or a butter knife, spread an even layer of frosting over the entire surface of the sugar cone. Ensure you cover it completely. This frosting acts as the glue for your candies.
Step 4 – Start Sticking Candies
Begin placing the pastel candies onto the cone, starting from the bottom and working your way up. Press each candy gently into the frosting to secure it in place. You may need to dip them in the frosting for a more secure hold.
Step 5 – Fill the Gaps
As you continue sticking candies onto the cone, look for any gaps between the candies and fill them in. This helps create a more cohesive look to your pastel candy tree.
Step 6 – Add More Frosting
If you want to place additional candies, feel free to use more frosting as needed. It’s okay to be generous with the frosting to ensure a solid hold.
Step 7 – Time for Decoration
Once all your candies are in place, take a moment to sprinkle some edible glitter or sprinkles on top of the tree for an added festive touch. This will also give it a magical, shimmering finish.
Step 8 – Final Touches with Additional Decorations
If you have mini marshmallows or other candies, now’s the time to add them for extra flair. Place them at the top as “tree toppers” or sprinkle them around the base.
Step 9 – Allow to Set
Let your Pastel Candy Christmas Tree sit for a short while to allow the frosting to set and hold everything together.
Step 10 – Serve and Enjoy
When you’re ready to serve your candy tree, place it prominently on your holiday table as a centerpiece. Watch as everyone admires your creation before they eagerly dig in!
Serving Suggestions for Pastel Candy Christmas Tree
Best Occasions to Serve This Dish
The Pastel Candy Christmas Tree shines bright during holiday gatherings. It’s a hit at Christmas parties, family get-togethers, and even New Year’s celebrations. The bright colors and festive spirit bring joy, making it a perfect conversation starter and centerpiece.
What to Serve With It
Pair this delightful tree with hot cocoa or festive cocktails to enhance the holiday experience. For a complete dessert table, consider serving cookies or gingerbread alongside the Pastel Candy Christmas Tree, providing a variety of textures and flavors for guests to enjoy.
How to Store Pastel Candy Christmas Tree Properly
Best Storage Practices
Store any leftover Pastel Candy Christmas Tree in a cool, dry place. If too much moisture is present, the candies might become sticky. If you need to store it overnight, consider placing it in a large container to avoid damage.
Reheating and Freezing Tips
Reheating is unnecessary as the Pastel Candy Christmas Tree is best served fresh. Freezing is generally not recommended due to the sugar cone’s texture changes once frozen. However, if you must freeze the candies for storage reasons after disassembly, ensure they are kept in an airtight container.
Tips & Tricks for Pastel Candy Christmas Tree
Mistakes to Avoid
- Using Too Little Frosting: This can lead to candies falling off. Ensure generous coverage for stability.
- Choosing the Wrong Candies: Some candies may not stick well or may melt, especially in warm conditions.
- Rushing the Assembly: Allowing sufficient time to adhere candies properly will avoid disappointment.
- Not Cleaning Your Tools: A messy workspace can hinder the process and lead to messy results.
- Skipping the Gaps: Filling in gaps is crucial for achieving a polished look.
Extra Tips for Better Results
For an appealing texture, experiment with different types of candies, such as chocolate-covered options. Also, consider varying the sizes and shapes of the candy pieces for a more dynamic appearance. Lastly, try using a combination of shiny and matte candies to create interest in your Pastel Candy Christmas Tree.
Recipe Variations of Pastel Candy Christmas Tree
Creative Twists
- Chocolate Theme: Instead of pastel candies, use all chocolate-coated treats for a more decadent look.
- Fruit-Flavored Options: Incorporate fruit-flavored gummies or jelly beans for a burst of fruity flavors.
- Candy Cane Addition: Add mini candy canes as decorations, balancing the sweetness with a minty crunch.
- Seasonal Colors: Change the color scheme for other holidays, such as red, white, and blue for Independence Day!
Dietary Adjustments
For vegan options, use dairy-free frosting and candies. Gluten-free enthusiasts can find gluten-free alternatives for most candies. Always check packaging to ensure all ingredients meet dietary restrictions.
Conclusion about Pastel Candy Christmas Tree
The Pastel Candy Christmas Tree is not just a delightful dessert; it’s a festive centerpiece that encourages creativity and fun. With its easy preparation and wide range of customization options, it’s perfect for any holiday gathering. The joy it brings, from its vibrant colors to the sweet taste, makes it a must-try for anyone wanting to elevate their holiday spread. Whether you’re creating this tree with your kids or surprising your friends at a party, it will undoubtedly become a cherished tradition. So gather your ingredients, unleash your creativity, and enjoy the sweet rewards of your labor with this magical Pastel Candy Christmas Tree!
FAQs about Pastel Candy Christmas Tree
Can I make the Pastel Candy Christmas Tree ahead of time?
Yes, you can prepare it a day in advance. Just ensure it’s stored properly in a cool place.
How long will the Pastel Candy Christmas Tree last?
Typically, it will last for about 3-4 days if stored correctly.
Can I use different kinds of frosting?
Absolutely! Feel free to experiment with different flavors, such as cream cheese or chocolate frosting.
Is this recipe nut-free?
Yes, as long as you choose pastel candies that are nut-free, the recipe can easily accommodate nut allergies.
Can I make this tree gluten-free?
Yes, you can find gluten-free candies and frosting to make this Pastel Candy Christmas Tree suitable for gluten-sensitive individuals.
Is there a way to add more flavors?
Of course! Consider incorporating flavored candies, such as sour gummies or fruit chews, to add more variety.
What kind of serving dish should I use?
A flat serving platter is ideal for showcasing your candy tree’s beauty. You can also use a piece of cardboard covered in decorative paper.
What’s the best way to transport the Pastel Candy Christmas Tree?
To transport, keep it in a sturdy box or container and drive carefully to avoid any bumps or disruption.
Can I decorate other sweets in a similar way?
Absolutely! This technique can be used on cupcakes, cakes, and cookies for exciting holiday treats.
How do I clean up after making the Pastel Candy Christmas Tree?
Most frosting can be cleaned off with warm, soapy water. Soak any tools that are particularly sticky for easier cleaning.

Pastel Candy Christmas Tree
Ingredients
Main ingredients
- 1 cup Frosting For adhering candies
- 1 piece Sugar cone Base for the tree
- Variety Pastel candies (like M&Ms or Skittles) For covering the cone
- Optional Edible glitter or sprinkles For decoration
- Optional Mini marshmallows or other candies For additional decoration


Instructions
Preparation
- Gather all your ingredients and tidy your workspace.
- Place the sugar cone upright on a serving platter or sturdy cardboard.
- Spread an even layer of frosting over the entire sugar cone.
- Start placing the pastel candies on the cone from the bottom to the top, pressing gently into the frosting.
- Fill gaps with more candies to create a cohesive look.
- Add extra frosting where needed to secure candies.
- Sprinkle edible glitter or sprinkles on top for a festive touch.
- Add mini marshmallows or other candies for extra flair.
- Let the tree sit for a short while to allow frosting to set.
- Display the candy tree prominently on your holiday table.