
This post may contain affiliate links. As an Amazon Associate, I earn from qualifying purchases at no extra cost to you.
Table of Contents
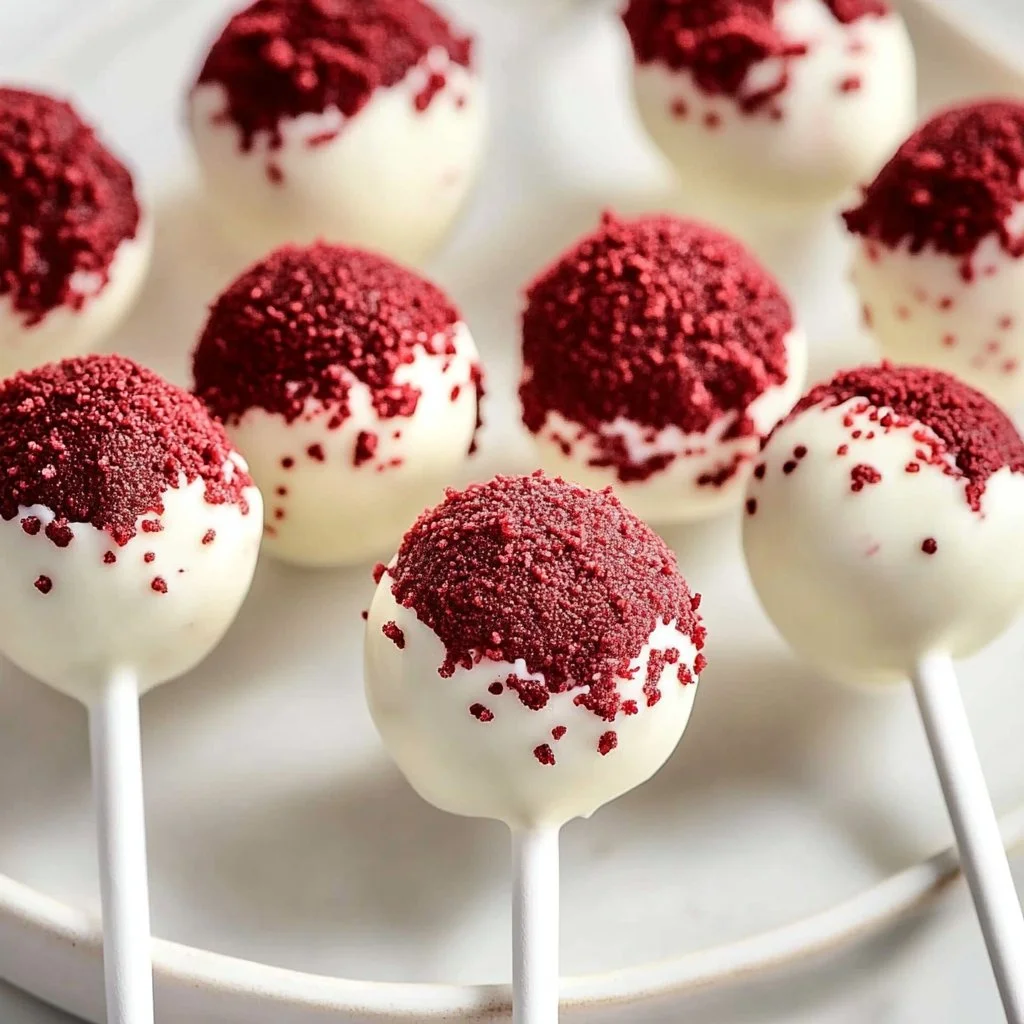
There’s just something undeniably delightful about cake pops, isn’t there? When you combine that joy with the rich, velvety flavor of red velvet cake, you get a treat that’s not just a dessert but also a celebration on a stick. The Juicy Red Velvet Cake Pops are not just delicious; they also bring a fun element to baking that’s perfect for both kids and adults alike. Have you ever thought of throwing a party or simply indulging in a sweet treat? This recipe makes it easy to share love, creativity, and delightful taste in every bite.
Making Juicy Red Velvet Cake Pops is surprisingly simple. With just a few ingredients and some basic steps, you can whip up a batch that is perfect for any occasion. Imagine the excitement on your friends’ faces when they take a bite of these chewy, chocolatey, and creamy pops. They’re perfect for birthdays, holidays, and even casual gatherings. Plus, they are an excellent way to use leftover cake!
What sets these Juicy Red Velvet Cake Pops apart is how they combine flavor and fun. The cream cheese frosting mixed into the crumbled cake creates an indulgent filling, while the outer layer of chocolate adds crunch and charm. Can you think of a better way to enjoy cake? With these pops, you can easily customize decorations and flavors, making them versatile enough for any celebration or personal preference.
🍴 Top Kitchen Essentials You'll Love


Key Benefits of Juicy Red Velvet Cake Pops
Why You’ll Love This Recipe
- Rich Flavor: The classic red velvet flavor with hints of cocoa and cream cheese creates a dessert that’s unforgettable.
- Simplicity: With an easy-to-follow recipe, you’ll find it simple to create gourmet treats even if you’re not an experienced baker.
- Fun Presentation: The bite-sized format of cake pops makes them perfect for sharing at parties or events.
- Customize Them: Play around with decorations and flavors to make these pops uniquely yours.
- Family-Friendly: Kids and adults alike will love the interactive aspect of cake pops, making it a hit with the whole family.
What Makes It Stand Out
These Juicy Red Velvet Cake Pops are not your typical dessert. The combination of moist cake and rich frosting, enveloped in a coating of chocolate, gives an explosion of flavors in each bite. You can easily customize these cake pops for any occasion, whether it’s a birthday party, an anniversary, or just an afternoon snack. The fun part is decorating them; let your creativity flow!
You can also tweak the recipe by adding your favorite flavors, making them a versatile option. Why stick to one flavor when you can create a whole variety? With Juicy Red Velvet Cake Pops, every experience can be new and exciting!
Ingredients for Juicy Red Velvet Cake Pops
Complete Ingredient List with Measurements
- 1 box red velvet cake mix
- 3 large eggs
- 1 cup water
- 1/2 cup vegetable oil
- 1 container cream cheese frosting
- 1 bag chocolate melting wafers
- Sprinkles (for decoration)
- Lollipop sticks
Each ingredient plays a crucial role in making the cake pops juicy, flavorful, and visually appealing. The red velvet cake mix provides the base, while the cream cheese frosting adds that signature tangy richness. Don’t forget the melting chocolate and sprinkles; they are essential for an eye-catching finish!
Substitutes and Alternatives
If you’re looking for alternatives due to dietary restrictions, there are plenty of options. You can use egg substitutes like applesauce or flaxseed meal for a vegan version. For gluten-free alternatives, simply replace the red velvet cake mix with a gluten-free option available at most supermarkets.
Dairy-free chocolate wafers are also available if you want to avoid dairy. These small adjustments make it possible for anyone to enjoy these Juicy Red Velvet Cake Pops, ensuring that nobody misses out on this delicious treat!
How to Make Juicy Red Velvet Cake Pops – Step-by-Step Directions
Step 1 – Prepare Ingredients
Gather all your ingredients to have everything within reach. This makes the process smoother and more enjoyable. Preheat your oven as per the cake mix instructions while you prepare.
Step 2 – Cook the Base
Prepare the red velvet cake mix according to the package instructions. This usually involves mixing the cake mix with water, eggs, and oil. Bake it in a preheated oven until a toothpick inserted comes out clean. Let it cool completely.
Step 3 – Crumble the Cake
Once the cake is cool, transfer it to a large bowl and crumble it into fine pieces using your hands. Ensure there are no large chunks remaining to allow for better blending with the frosting.
Step 4 – Mix in the Frosting
Take the cream cheese frosting and mix it into the crumbled cake until well combined. You want a dough-like consistency, so make sure it’s mixed thoroughly. The mixture should hold together well when you squeeze it.
Step 5 – Roll into Balls
Now, take small portions of this mixture and roll them into uniform balls. Aim for about one inch in diameter. This makes them easy to dip and also ensures even cooking and flavor distribution.
Step 6 – Insert Lollipop Sticks
Once you have rolled all the balls, insert a lollipop stick into each ball. Push the stick in about halfway to give it stability during the dipping process. Place them on a tray lined with parchment paper.
Step 7 – Freeze the Cake Pops
To help each cake pop firm up, place the tray in the freezer for about 1 hour. This cooling step ensures that they hold their shape when dipped in chocolate, resulting in a perfect finish!
Step 8 – Melt the Chocolate Wafers
While the pops are freezing, melt the chocolate wafers according to the package instructions. You can use a microwave or a double boiler. Make sure to stir well to avoid any lumps.
Step 9 – Dip the Cake Pops
Remove the cake pops from the freezer and dip each pop in the melted chocolate. Turn them to coat evenly and allow excess chocolate to drip back into the bowl. Be sure to work quickly so the chocolate doesn’t harden before you decorate.
Step 10 – Decorate and Set
While the chocolate coating is still wet, sprinkle your favorite toppings over the pops. This could be colorful sprinkles, crushed nuts, or even some shredded coconut. Let the cake pops sit on parchment paper for a few minutes until the chocolate hardens.
Serving Suggestions for Juicy Red Velvet Cake Pops
Best Occasions to Serve This Dish
Juicy Red Velvet Cake Pops are incredibly versatile and can be served at various occasions. Birthdays are an obvious choice; who wouldn’t love to see a tray of these vibrant pops at a celebration? They also make for great holiday treats, bringing a festive twist to traditional desserts.
For more casual gatherings, such as brunches or afternoon tea, these cake pops can serve as delightful conversation starters. Picture your friends enjoying them while catching up over coffee. They can also be a fun addition to bake sales or even as unique desserts for weddings!
What to Serve With It
- Coffee or tea complements the flavors of red velvet beautifully.
- Pair with milk for a classic combination that’s loved by kids.
- Serve alongside fresh fruit for a colorful treat display.
- Use different dessert dips, such as caramel or white chocolate, for variety.
How to Store Juicy Red Velvet Cake Pops Properly
Best Storage Practices
To keep your Juicy Red Velvet Cake Pops fresh, store them in an airtight container. You can keep the pops in the refrigerator for up to a week. Just ensure they are evenly spaced to avoid any sticking together.
For longer storage, consider freezing them. Wrap each cake pop individually in plastic wrap and place them in a freezer-safe container. This way, you can pull them out whenever a sweet craving strikes!
Reheating and Freezing Tips
If you’ve frozen your Juicy Red Velvet Cake Pops, let them thaw in the refrigerator before serving. Avoid using a microwave to reheat them, as this can cause the chocolate coating to melt and lose its shape. Just allow them to sit at room temperature for a bit, and they’ll be perfect to enjoy again.
Tips & Tricks for Juicy Red Velvet Cake Pops
Mistakes to Avoid
- Overmixing the Cake: Be careful not to overmix the batter; this can lead to a dense cake.
- Not Letting the Cake Cool: Always let your cake cool completely before crumbling; warm cake can lead to overly moist pops.
- Lollipop Stick Placement: Ensure your lollipop stick is inserted properly; if it’s too shallow, it will fall apart.
- Rushing the Freezing Process: Allow enough time for the pops to firm up; skipping this step will lead to messy dipping.
- Ignoring the Chocolate Temperature: Melt chocolate at a low temperature; overheating can cause it to seize.
Extra Tips for Better Results
For extra flavor, consider adding vanilla extract or almond extract to your cake mix. You can also experiment with different types of sprinkles or edible glitter for a fancy touch. Dipping the pops in white chocolate instead of milk chocolate adds a delightful twist and contrast, too!
Recipe Variations of Juicy Red Velvet Cake Pops
Creative Twists
- Nutty Surprise: Add crushed nuts like walnuts or pecans to the cake mixture for an exciting crunch.
- Cheesecake Filled: Before rolling the cake mixture, fill each ball with a dollop of cheesecake filling for a creamy center.
- Double Chocolate: Use chocolate cake mix instead of red velvet for a rich chocolate flavor that pairs well with red-colored decorations.
- Fruit Infused: Experiment by adding pureed strawberries or raspberries to the frosting for a fruitier flavor profile.
Dietary Adjustments
For a vegan version, use plant-based frosting and egg substitutes. A gluten-free cake mix can easily replace the traditional mix, making this dessert accessible for everyone. To make it dairy-free, ensure that the chocolate wafers and frosting are free from milk products.
Conclusion about Juicy Red Velvet Cake Pops
If you’re looking for a fun and delightful dessert to impress friends and family, Juicy Red Velvet Cake Pops are the way to go! They capture the rich flavors of red velvet cake while being easy to make and decorate. Whether for special occasions or just a sweet treat at home, these cake pops provide joy and creativity in every bite. With minimal ingredients and simple steps, you can enjoy the process of making these little delights. Don’t hesitate to try this recipe; after one bite, you’ll understand why these cake pops are a favorite for many!
FAQs about Juicy Red Velvet Cake Pops
Can I prepare it ahead of time? Yes, you can make these cake pops a day ahead. Just store them in an airtight container in the fridge.
Can I freeze it? Absolutely! They freeze well, and you can thaw them when ready to serve.
How long does it last? When stored properly in the fridge, they can last for up to a week.
What are the best substitutions? You can use gluten-free cake mix, egg substitutes, and dairy-free frosting for dietary needs.
Is this recipe family-friendly? Yes, it’s a great recipe for families and fun to make together!
Can I change the flavor? Yes, feel free to experiment with different cake flavors or fillings!
What can I use instead of chocolate wafers? You can use chocolate chips or candy melts.
How many pops does this recipe make? Typically, this recipe yields about 20-25 pops depending on the size.
Can I make mini cake pops? Absolutely! Just reduce the size when rolling them to make bite-sized treats.
Are these suitable for kids? Definitely! They’re fun, colorful, and perfect for children’s parties.

Juicy Red Velvet Cake Pops
Ingredients
For the Cake Pops
- 1 box red velvet cake mix Use any brand of cake mix available.
- 3 large eggs Can substitute with applesauce for a vegan version.
- 1 cup water
- ½ cup vegetable oil Can use any mild vegetable oil.
- 1 container cream cheese frosting Check for dairy-free options if needed.
- 1 bag chocolate melting wafers May substitute with dairy-free chocolate if desired.
- Sprinkles For decoration.
- Lollipop sticks To hold the cake pops.


Instructions
Preparation
- Gather all your ingredients to have everything within reach and preheat your oven as per the cake mix instructions.
- Prepare the red velvet cake mix according to the package instructions, usually mixing with water, eggs, and oil, then bake until a toothpick comes out clean. Let it cool completely.
- Once cooled, crumble the cake into fine pieces in a large bowl.
- Mix the crumbled cake with cream cheese frosting until it reaches a dough-like consistency.
- Roll small portions of the mixture into uniform balls about one inch in diameter.
- Insert lollipop sticks into each ball halfway to ensure stability and place them on a parchment-lined tray.
- Freeze the cake pops for about 1 hour to firm them up.
Dipping and Decorating
- Meanwhile, melt the chocolate wafers according to package instructions.
- Dip each frozen cake pop into the melted chocolate, allowing excess to drip off before decorating.
- Sprinkle toppings over the wet chocolate coating and let the pops sit until the chocolate hardens.